
Suppliers & Linking
Learn how to connect suppliers, map quality attributes, and configure custom price rules for Dynamic Pricing in RepairPlugin easily.
What can you do with this?
- Enable or disable suppliers -- choose which suppliers contribute pricing data to your catalog.
- Filter suppliers by shipping country -- quickly find suppliers that ship to your region.
- Link device brands to suppliers -- control which categories and brands each supplier covers.
- Create linking profiles per supplier -- group brands into profiles, and give every profile its own attribute linking. For example, link Apple parts one way and Samsung parts another way, all from the same supplier.
- Map quality attributes -- match supplier quality labels (e.g., "OEM", "Aftermarket") to your own repair attributes (e.g., "Official", "Compatible").
- Add custom price rules -- adjust supplier prices before your margin is applied, for example to account for customs tax or a negotiated discount.
Where to find it
- In your WordPress admin, go to RepairPlugin in the left sidebar.
- Click Settings.
- Open the Dynamic Pricing section.
- Select the Settings tab.
- The supplier list appears below the global settings on this same tab.
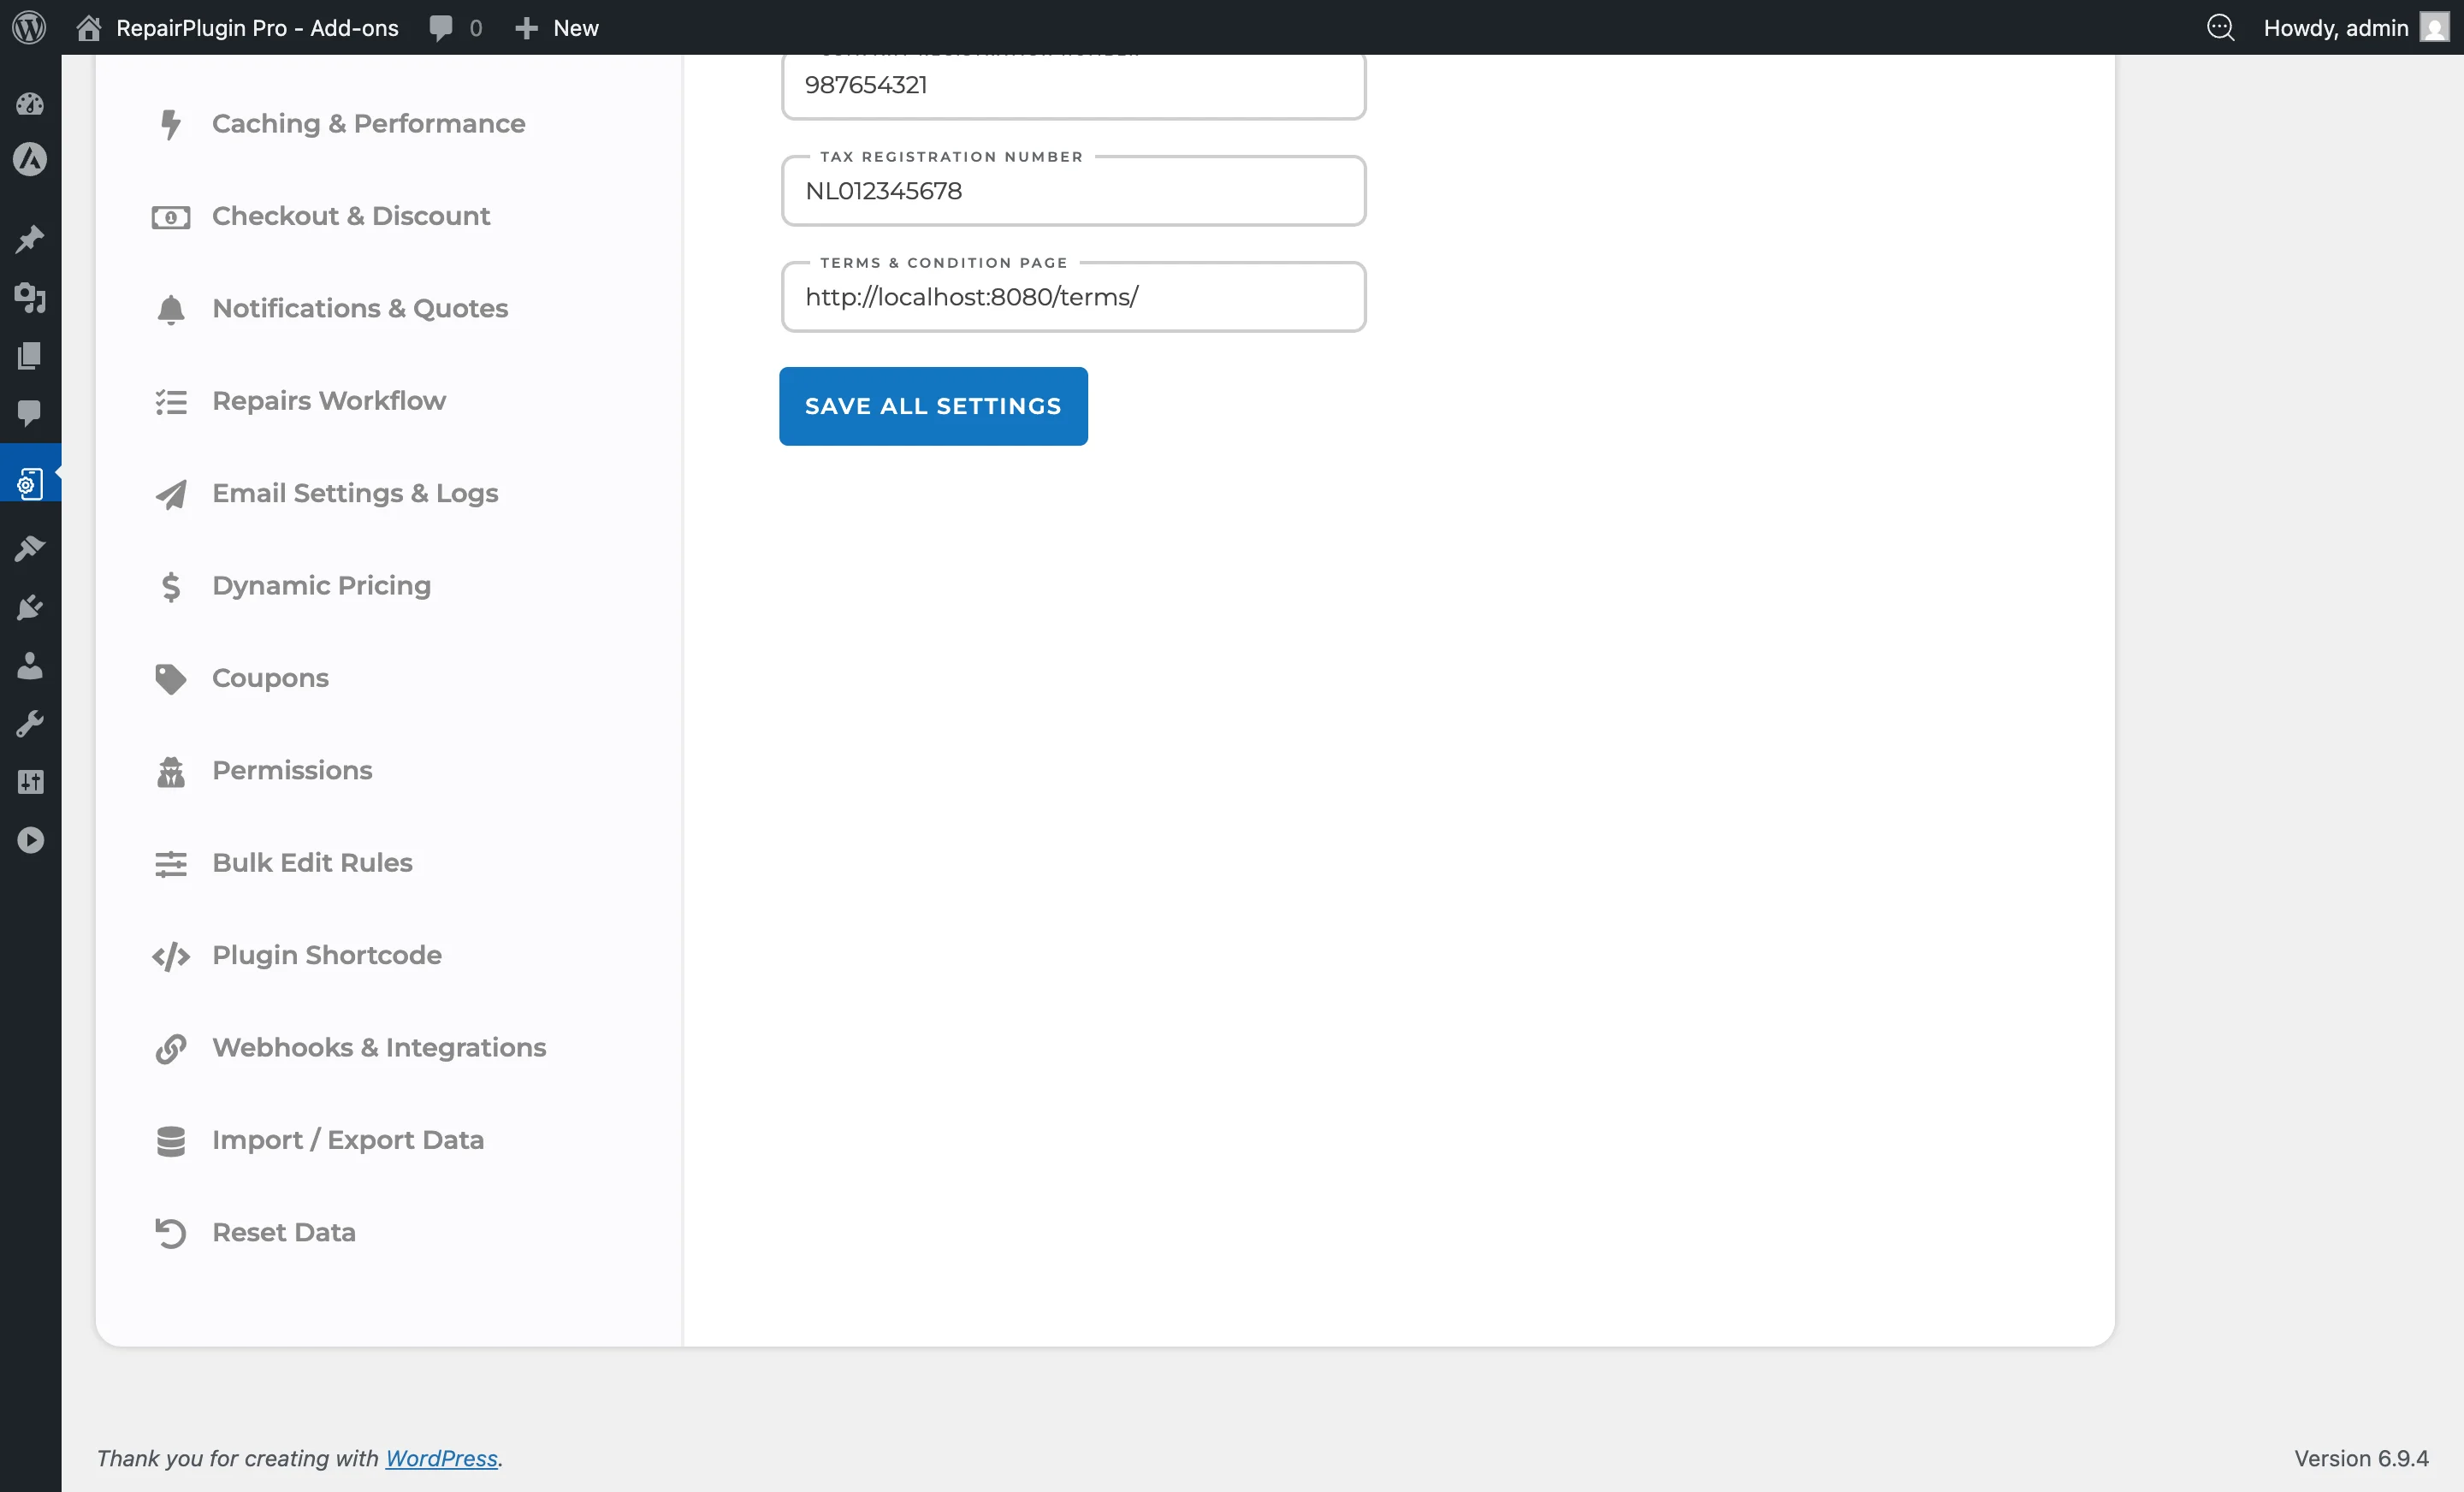
What you'll see for each supplier:
Each supplier is shown as a card with:
- Name and logo -- supplier identity
- Flag / country -- where the supplier ships from
- Description -- a brief summary of what they offer
- Currency badge -- the supplier's currency and conversion status
- Connection statistics -- a summary line showing how many models, parts, and repairs are linked (e.g., "From X models, we've linked Y parts to Z repairs")
- Three action buttons:
- Manage Linking -- opens the Linking Profiles tab, where you link brands and map quality attributes for this supplier
- Price Rules -- opens a modal to add custom price adjustments
- External link -- opens the supplier's website in a new tab
Where to find linking profiles:
- Go to
RepairPlugin > Settings > Dynamic Pricing. - Select the Linking Profiles tab. You can also click Manage Linking on a supplier card -- RepairPlugin then opens this tab with that supplier already unfolded.
- Click a supplier to unfold it and see its linking profiles.
The Linking Profiles tab only lists enabled suppliers. To enable or disable a supplier, go back to the Settings tab.
How to set it up
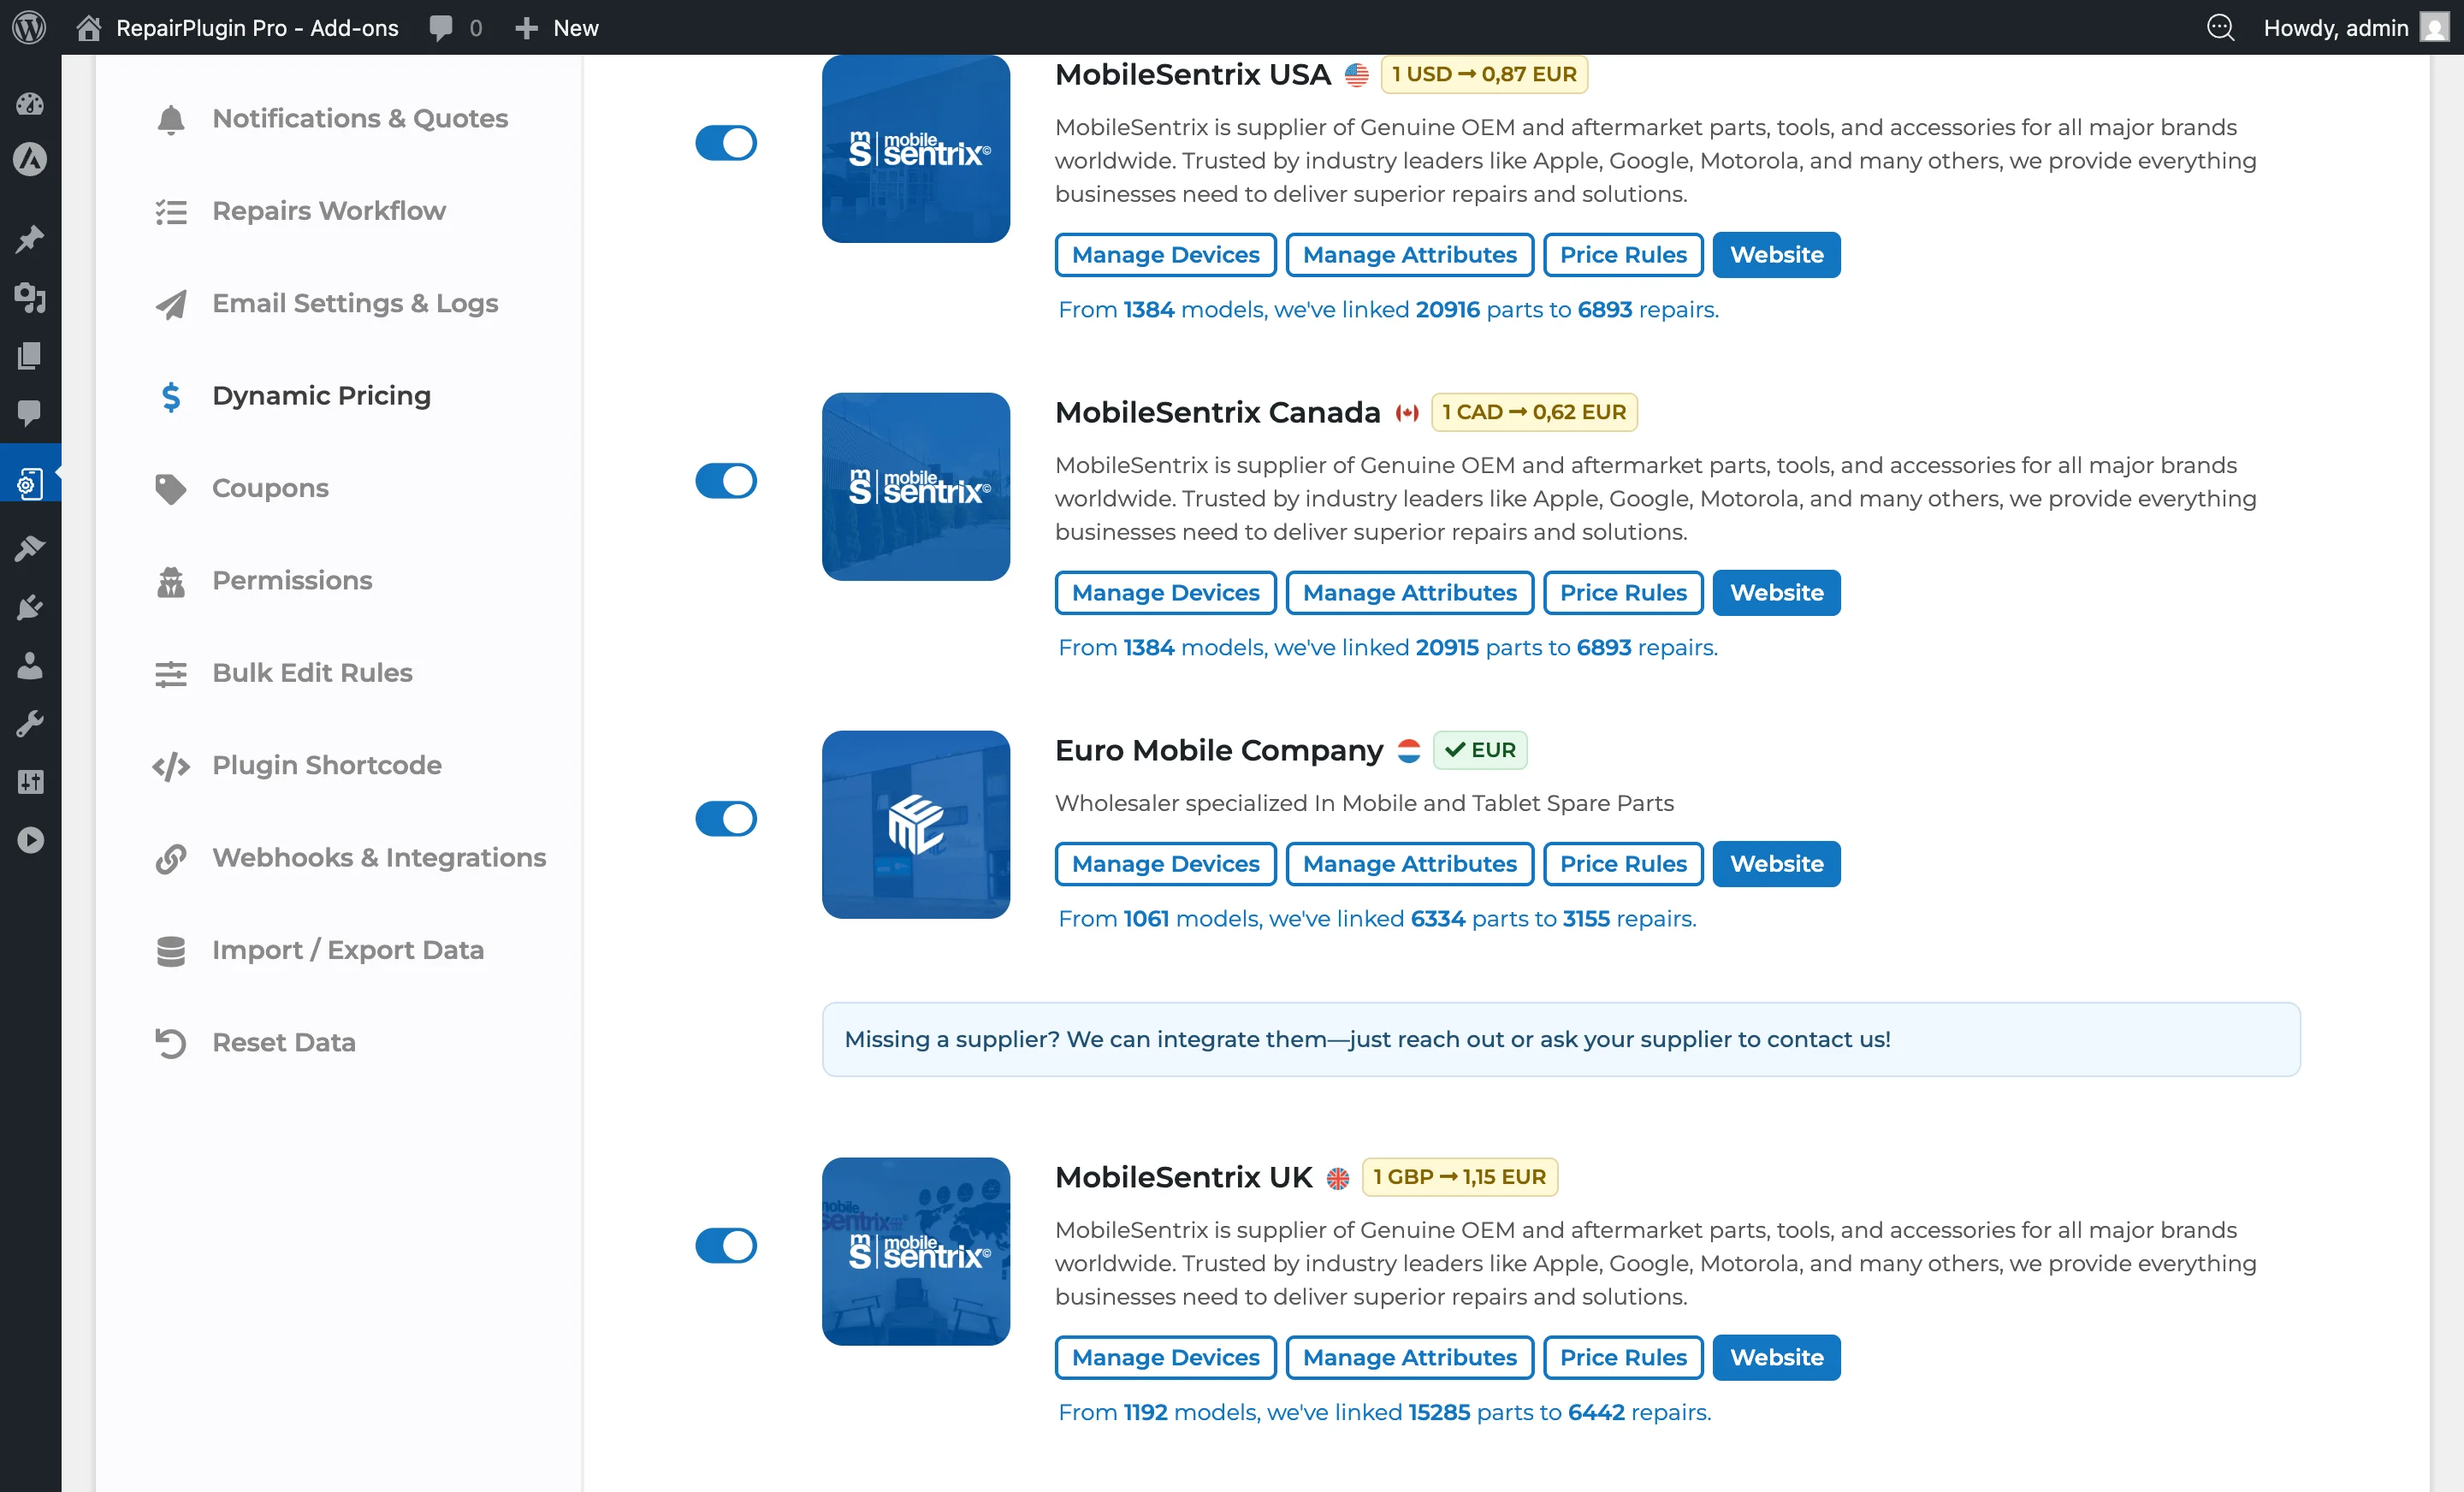
Enable or disable a supplier
Each supplier card has a switch to turn it on or off.
- On: The supplier's product feed is included in Dynamic Pricing calculations during sync. Parts from this supplier are matched against your repairs and contribute to price selection.
- Off: The supplier's data is excluded entirely. No prices from this supplier are considered.
It's a good idea to enable as many suppliers as possible. More enabled suppliers means broader part coverage, which increases the chance that every repair in your catalog has at least one linked part with a live price.
Filter suppliers by country
- At the top of the supplier list, find the dropdown labeled "Filter suppliers who ship parts to:".
- Select a country to show only suppliers that ship to that destination.
- If no suppliers match, a message appears explaining that other suppliers can still be used -- automatic currency conversion handles the price difference.
The country filter only changes which suppliers you see in the list. It doesn't change which suppliers are enabled or disabled. You can still manage suppliers that are filtered out by clearing the country filter first.
A "Missing a supplier?" message at the bottom encourages you to contact RepairPlugin if your preferred supplier isn't listed.
Understand currency conversion
Each supplier card shows a currency status indicator. Three states are possible:
- Checkmark + currency code (e.g., "EUR"): The supplier uses the same currency as your plugin. No conversion needed.
- Arrow with conversion rate (e.g., "1 USD -> 0.92 EUR"): The supplier uses a different currency, but automatic conversion is available. Prices are converted during sync using the current exchange rate.
- X + currency code (e.g., "GBP"): Conversion isn't available for this currency pair. Parts from this supplier are skipped during sync because no valid price can be calculated.
Currency conversion is fully automatic. You don't need to enter exchange rates manually. The system handles conversion during each sync cycle, so prices reflect current rates.
Understand linking profiles
A linking profile is a set of brands with its own attribute linking, for one supplier. Each profile has:
- A Reference name -- your own label for the profile.
- Brands -- the brands the profile applies to, or all brands.
- Attribute linking -- how the supplier's quality labels map to your repair attributes for those brands.
Every enabled supplier has at least one linking profile. A supplier you haven't set up yet gets one profile named Default. It includes all brands and uses RepairPlugin's suggested attribute linking.
Example: You buy Apple and Samsung parts from the same supplier. For Apple, you want the supplier's "Refurbished" screens under your "Official" quality. For Samsung, you don't. Create one profile for Apple and one for Samsung, then give each its own attribute linking.
Add a linking profile
- Go to the Linking Profiles tab and click the supplier to unfold it.
- Click Add linking profile.
- Enter a Reference name (e.g., "Apple & Samsung — OEM grade"). You need a name to save the profile.
- Choose the brands for this profile:
- Check the brands in the tree, organized by category (e.g., Smartphones, Tablets) and brand (e.g., Apple, Samsung). Checking a category checks all brands within it.
- Or turn on Include all brands to cover every brand in your shop, including brands you import later. The brand tree disappears, because there's nothing left to pick.
- Click Add.
Good to know:
- Pick at least one brand, or turn on Include all brands. RepairPlugin won't save a profile without brands.
- Only one profile per supplier can use Include all brands. If another profile already does, the switch is locked.
- A blue checkmark next to a brand means the brand is already in another profile of this supplier. Hover over it to see which one. You can still select the brand.
- A new profile starts with RepairPlugin's suggested attribute linking.
If no categories or brands exist in your catalog yet, the popup explains that you need to create them first, or download models from the RepairPlugin database. You can still turn on Include all brands.
Edit or delete a linking profile
- Go to the Linking Profiles tab and click the supplier to unfold it.
- Click Edit next to the profile.
- Change the Reference name, the brands, or the Include all brands switch.
- Click Update. The profile keeps its attribute linking.
To delete a profile, click the trash icon next to it and confirm. RepairPlugin removes the profile's attribute linking. Its brands have no linking for this supplier until you add them to another profile.
A supplier always keeps at least one linking profile. The trash icon only appears when a supplier has more than one profile.
Set the priority of linking profiles
The order only matters when a brand appears in more than one profile of the same supplier.
- RepairPlugin reads profiles from top to bottom. If a brand is in more than one profile, the last one in the list wins.
- A profile with Include all brands always stays at the top. Every other profile has priority over it.
- A new profile lands at the bottom of the list, so it has the highest priority.
To change the order:
- Drag a profile by its arrows, or click the up/down arrows to move it.
- Click Save order. This button appears once the order has changed.
Map quality attributes
Attribute linking belongs to a linking profile. Each profile of a supplier has its own mapping.
- Go to the Linking Profiles tab and click the supplier to unfold it.
- Click the Manage Attributes button next to the profile.
- A modal opens with the heading "Attributes Linking." It shows the supplier and the profile you're editing.
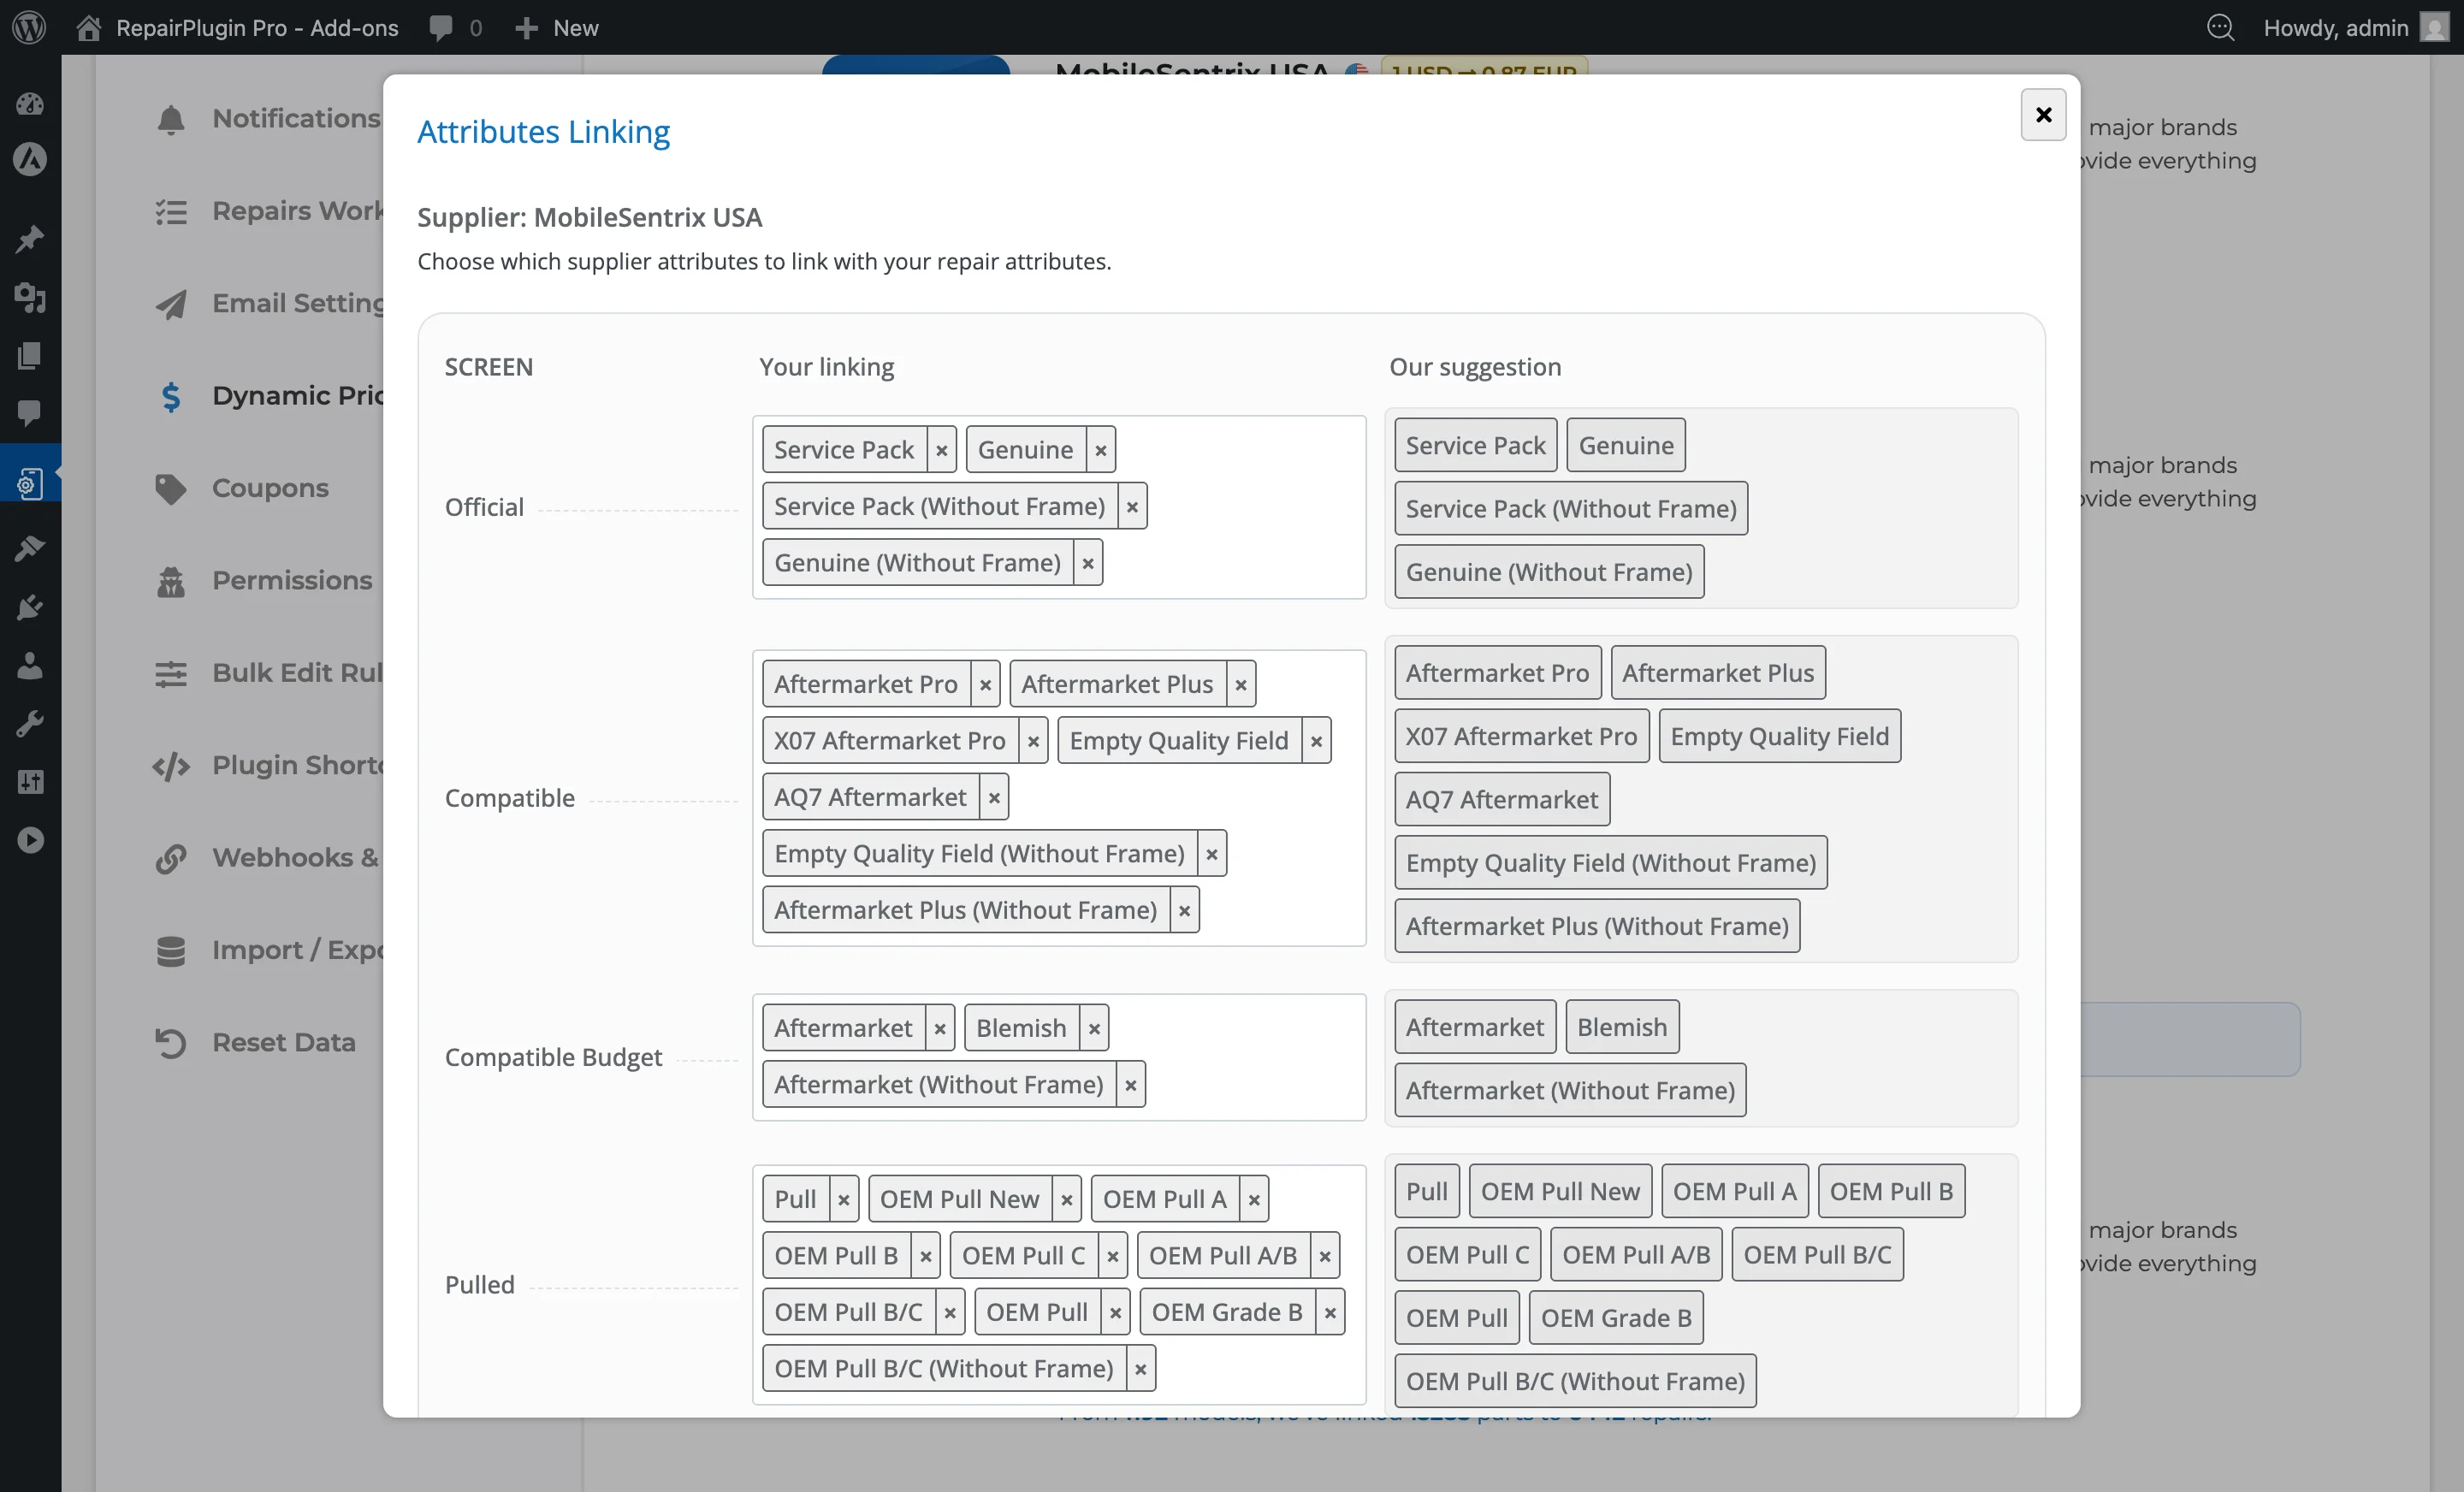
- Attributes are organized into three groups: Screen, Battery, and Other.
- For each of your repair attributes, you'll see two columns:
- Your Linking -- a multi-select dropdown where you choose which supplier attributes should map to this repair attribute. You can select one or multiple.
- Our Suggestion -- read-only badges showing RepairPlugin's recommended mapping based on attribute name analysis.
- If any supplier attributes remain unmapped, they're flagged with an alert indicator so you don't miss anything.
- Click Update to save your custom mappings.
- Click Reset Linking to revert all mappings of this profile back to the suggested defaults. This button is disabled if you haven't made any custom changes.
What happened to your existing linking
Before version 3.4, you linked brands and attributes per supplier with the Manage Devices and Manage Attributes buttons on the supplier card. After the update, RepairPlugin turns that setup into one linking profile named Default for each supplier:
- You never saved Manage Devices for the supplier: the Default profile includes all brands, also brands you import later.
- You saved a brand selection in Manage Devices: the Default profile contains exactly those brands.
- You customized Manage Attributes: the Default profile keeps your custom attribute linking.
Your prices keep working the same way. You only need to add more profiles if you want different attribute linking for different brands.
For troubleshooting attribute mapping notifications that persist after review, see Dynamic Pricing FAQ.
Add custom price rules
Custom price rules adjust the supplier's base price before your margin is applied. This is useful for customs taxes, negotiated discounts, or shipping surcharges.
- Click the Price Rules button on a supplier card.
- A modal opens with the heading "Custom Price Rules."
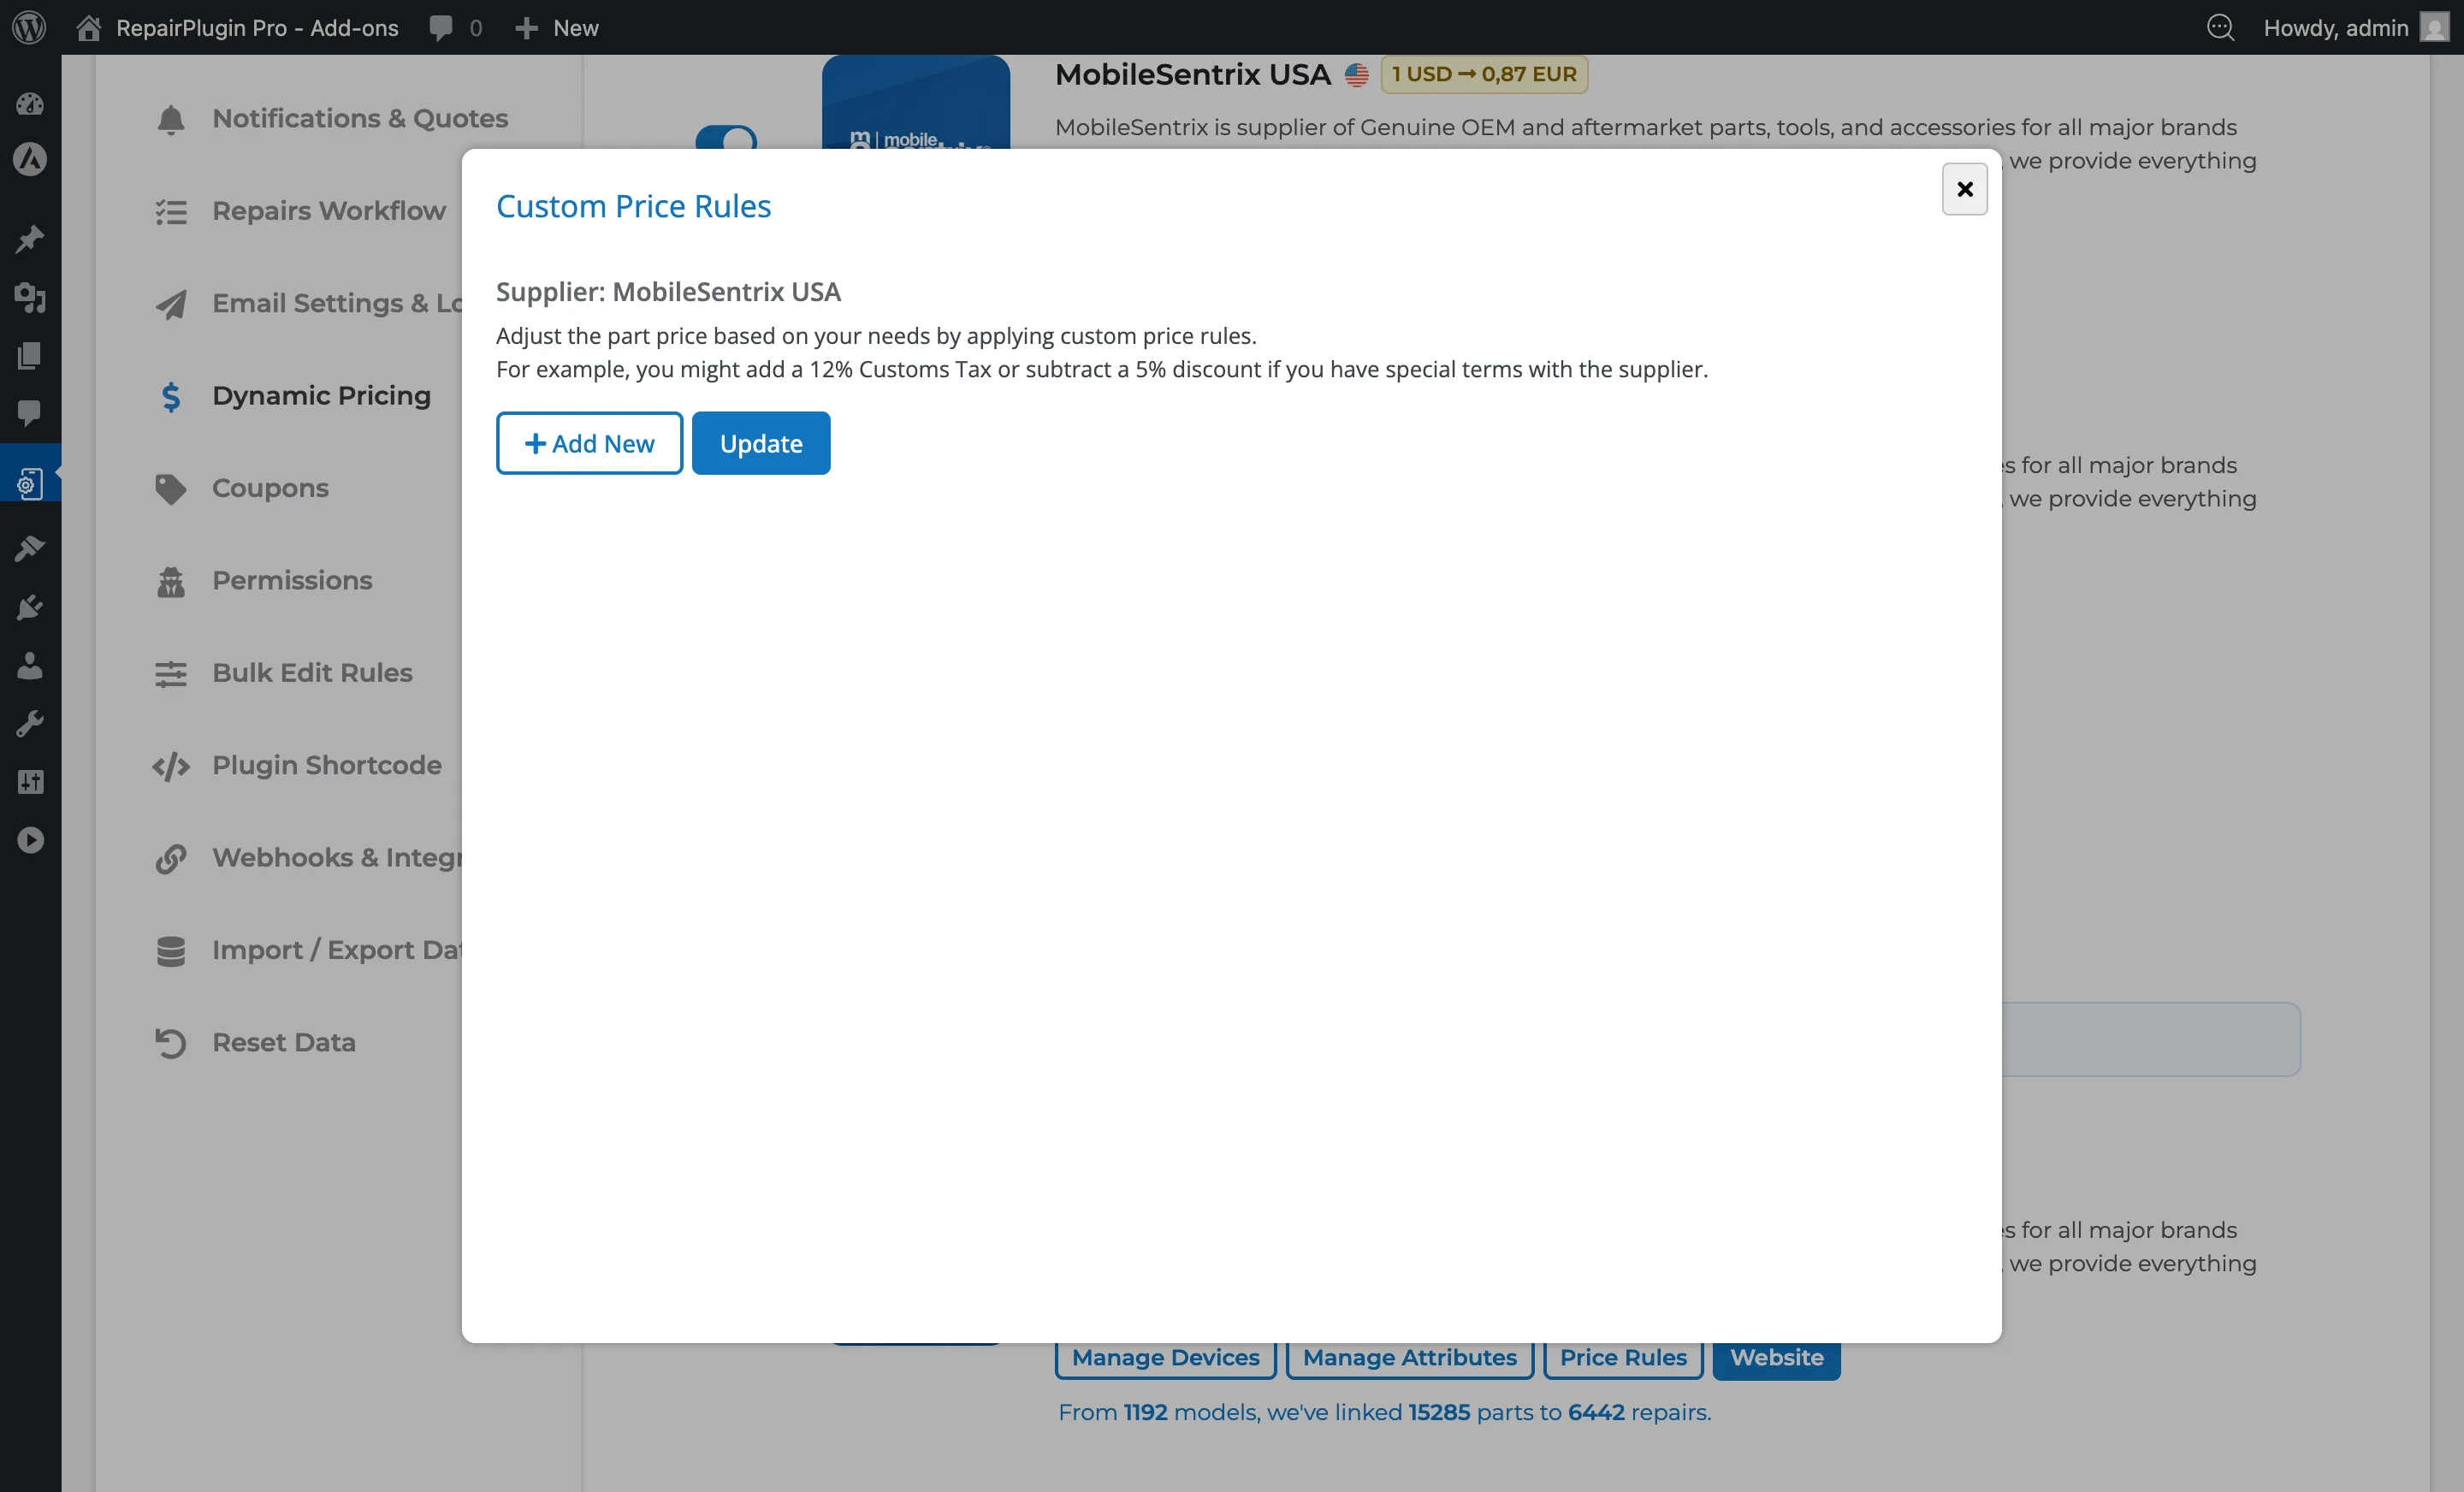
- Click Add New to add a rule. Each rule has four fields:
- Description -- a label for the rule (e.g., "Customs Tax", "Special Discount")
- Action -- Add (+) or Subtract (-)
- Value -- the numeric amount
- Type -- Percent (%) or Fixed (currency amount)
- Use the up/down arrow buttons to reorder rules. Rules are applied one after another, so the order matters.
- Click the X button to delete a rule.
- Click Update to save.
How rules are applied:
Rules run in sequence -- each rule modifies the price produced by the previous rule, not the original base price. For example:
- Base supplier price: 200.00
- Rule 1: Subtract 5% --> 200.00 - 10.00 = 190.00
- Rule 2: Add 12% --> 190.00 + 22.80 = 212.80
The final adjusted price (212.80) is then passed to the margin calculation. The full price flow is: supplier base price --> custom price rules --> margin --> min/max cap --> rounding --> final customer price.
Settings reference
| Setting | Description | Default | Customers see |
|---|---|---|---|
| Supplier Switch | Turns a supplier's product feed on or off. Only enabled suppliers contribute data to Dynamic Pricing calculations during sync | off | When a supplier is enabled, its parts data influences the prices on your site. Disabling a supplier removes its data from price calculations, which may cause some repairs to fall back to manual prices or "Price on Request." |
| Country Filter | Filters the supplier list to show only suppliers that ship to the selected country. This is a display filter only -- it doesn't change which suppliers are enabled or disabled | none (all suppliers shown) | Nothing. The country filter has no effect on your website. |
| Currency Conversion | Converts supplier prices from their native currency to your plugin's configured currency during sync. If no conversion rate is available for a currency pair, that supplier's parts are skipped | active for all suppliers with supported currency pairs | Prices always appear in your plugin's configured currency, regardless of which supplier provided the underlying part price. |
| Linking profile | A set of brands with its own attribute linking, for one supplier. Every enabled supplier keeps at least one profile | one profile named "Default" that includes all brands | Repairs for brands that aren't in any profile of a supplier won't receive price data from that supplier. If no other supplier covers those devices, prices fall back to manual values or "Price on Request." |
| Reference name | Your own label for a linking profile. It's required -- RepairPlugin won't save a profile without it | empty | Nothing. The name is only visible in your admin. |
| Include all brands | Makes the profile cover every brand in your shop, including brands you import later. Only one profile per supplier can use this. The profile stays at the top of the list, so any other profile that names a brand has priority over it | off for a new profile | Nothing directly. It decides which brands get price data from this supplier. |
| Brands | The brands the profile applies to. Pick at least one, unless Include all brands is on | no brands checked for a new profile | Repairs for unchecked brands won't receive price data from this supplier through this profile. |
| Profile order | Sets which profile wins when a brand appears in more than one profile of the same supplier. RepairPlugin reads profiles from top to bottom, and the last one wins. Click Save order after you move a profile | new profiles are added at the bottom (highest priority) | The attribute linking of the winning profile decides which price appears for each quality option. |
| Manage Attributes | Maps supplier quality attributes (e.g., "OEM", "Aftermarket", "Grade A") to your repair attributes (e.g., "Official", "Refurbished", "Compatible") for one linking profile. This determines which supplier parts match which quality tier in your repairs | RepairPlugin's suggested mappings | This affects which price appears for each quality option. Incorrect mapping can lead to mismatched prices (e.g., a compatible part price showing under the official quality tier). |
| Custom Price Rules | Applies sequential add/subtract adjustments (percentage or fixed) to the supplier's base part price before the global margin calculation. Useful for accounting for customs taxes, negotiated discounts, or shipping surcharges | no rules (base price used as-is) | Rules that increase the price result in higher customer prices. Rules that decrease the price result in lower customer prices. |
Frequently asked questions
Does the country filter affect which suppliers are enabled?
No. The country filter only changes which suppliers you see in the list. It doesn't enable or disable any supplier. You can still manage filtered-out suppliers by clearing the filter first.
What happens if currency conversion isn't available for a supplier?
Parts from that supplier are skipped during sync because no valid price can be calculated. You'll see an "X" next to the currency code on that supplier's card.
What happened to the Manage Devices and Manage Attributes buttons on the supplier card?
They moved to the Linking Profiles tab. Click Manage Linking on a supplier card to go there. You now pick brands when you add or edit a linking profile, and you'll find Manage Attributes next to each profile. Your old setup is kept in a profile named Default.
What happens to a brand that isn't in any linking profile?
That supplier isn't used for the brand. Models of that brand get no prices from this supplier until you add the brand to a profile, or turn on Include all brands in one.
Can I display Dynamic Pricing statistics on my website?
Yes. Use the [rp_dp_stats] shortcode to show counts of connected models, repairs, or parts. The shortcode requires two attributes: type (one of models, repairs, or parts) and supplier (a supplier ID or all for all suppliers). For example, [rp_dp_stats type="models" supplier="all"] shows the total number of models connected to Dynamic Pricing across all suppliers.