Opening Hours
Configure weekly opening hours, break times, and closed days per location in RepairPlugin so customers only book when you're open.
What can you do with this?
- Set daily hours -- define opening and closing times for every day of the week.
- Add a break time -- block out a lunch break or other gap during the day so no bookings are created for that period.
- Mark days as closed -- check a box to close any day of the week (e.g., Sunday).
- Manage per location -- each store location has its own independent schedule.
Where to find it
- Open RepairPlugin in the WordPress admin menu.
- Click Settings.
- Select Opening Hours in the sidebar (listed under Company Information).
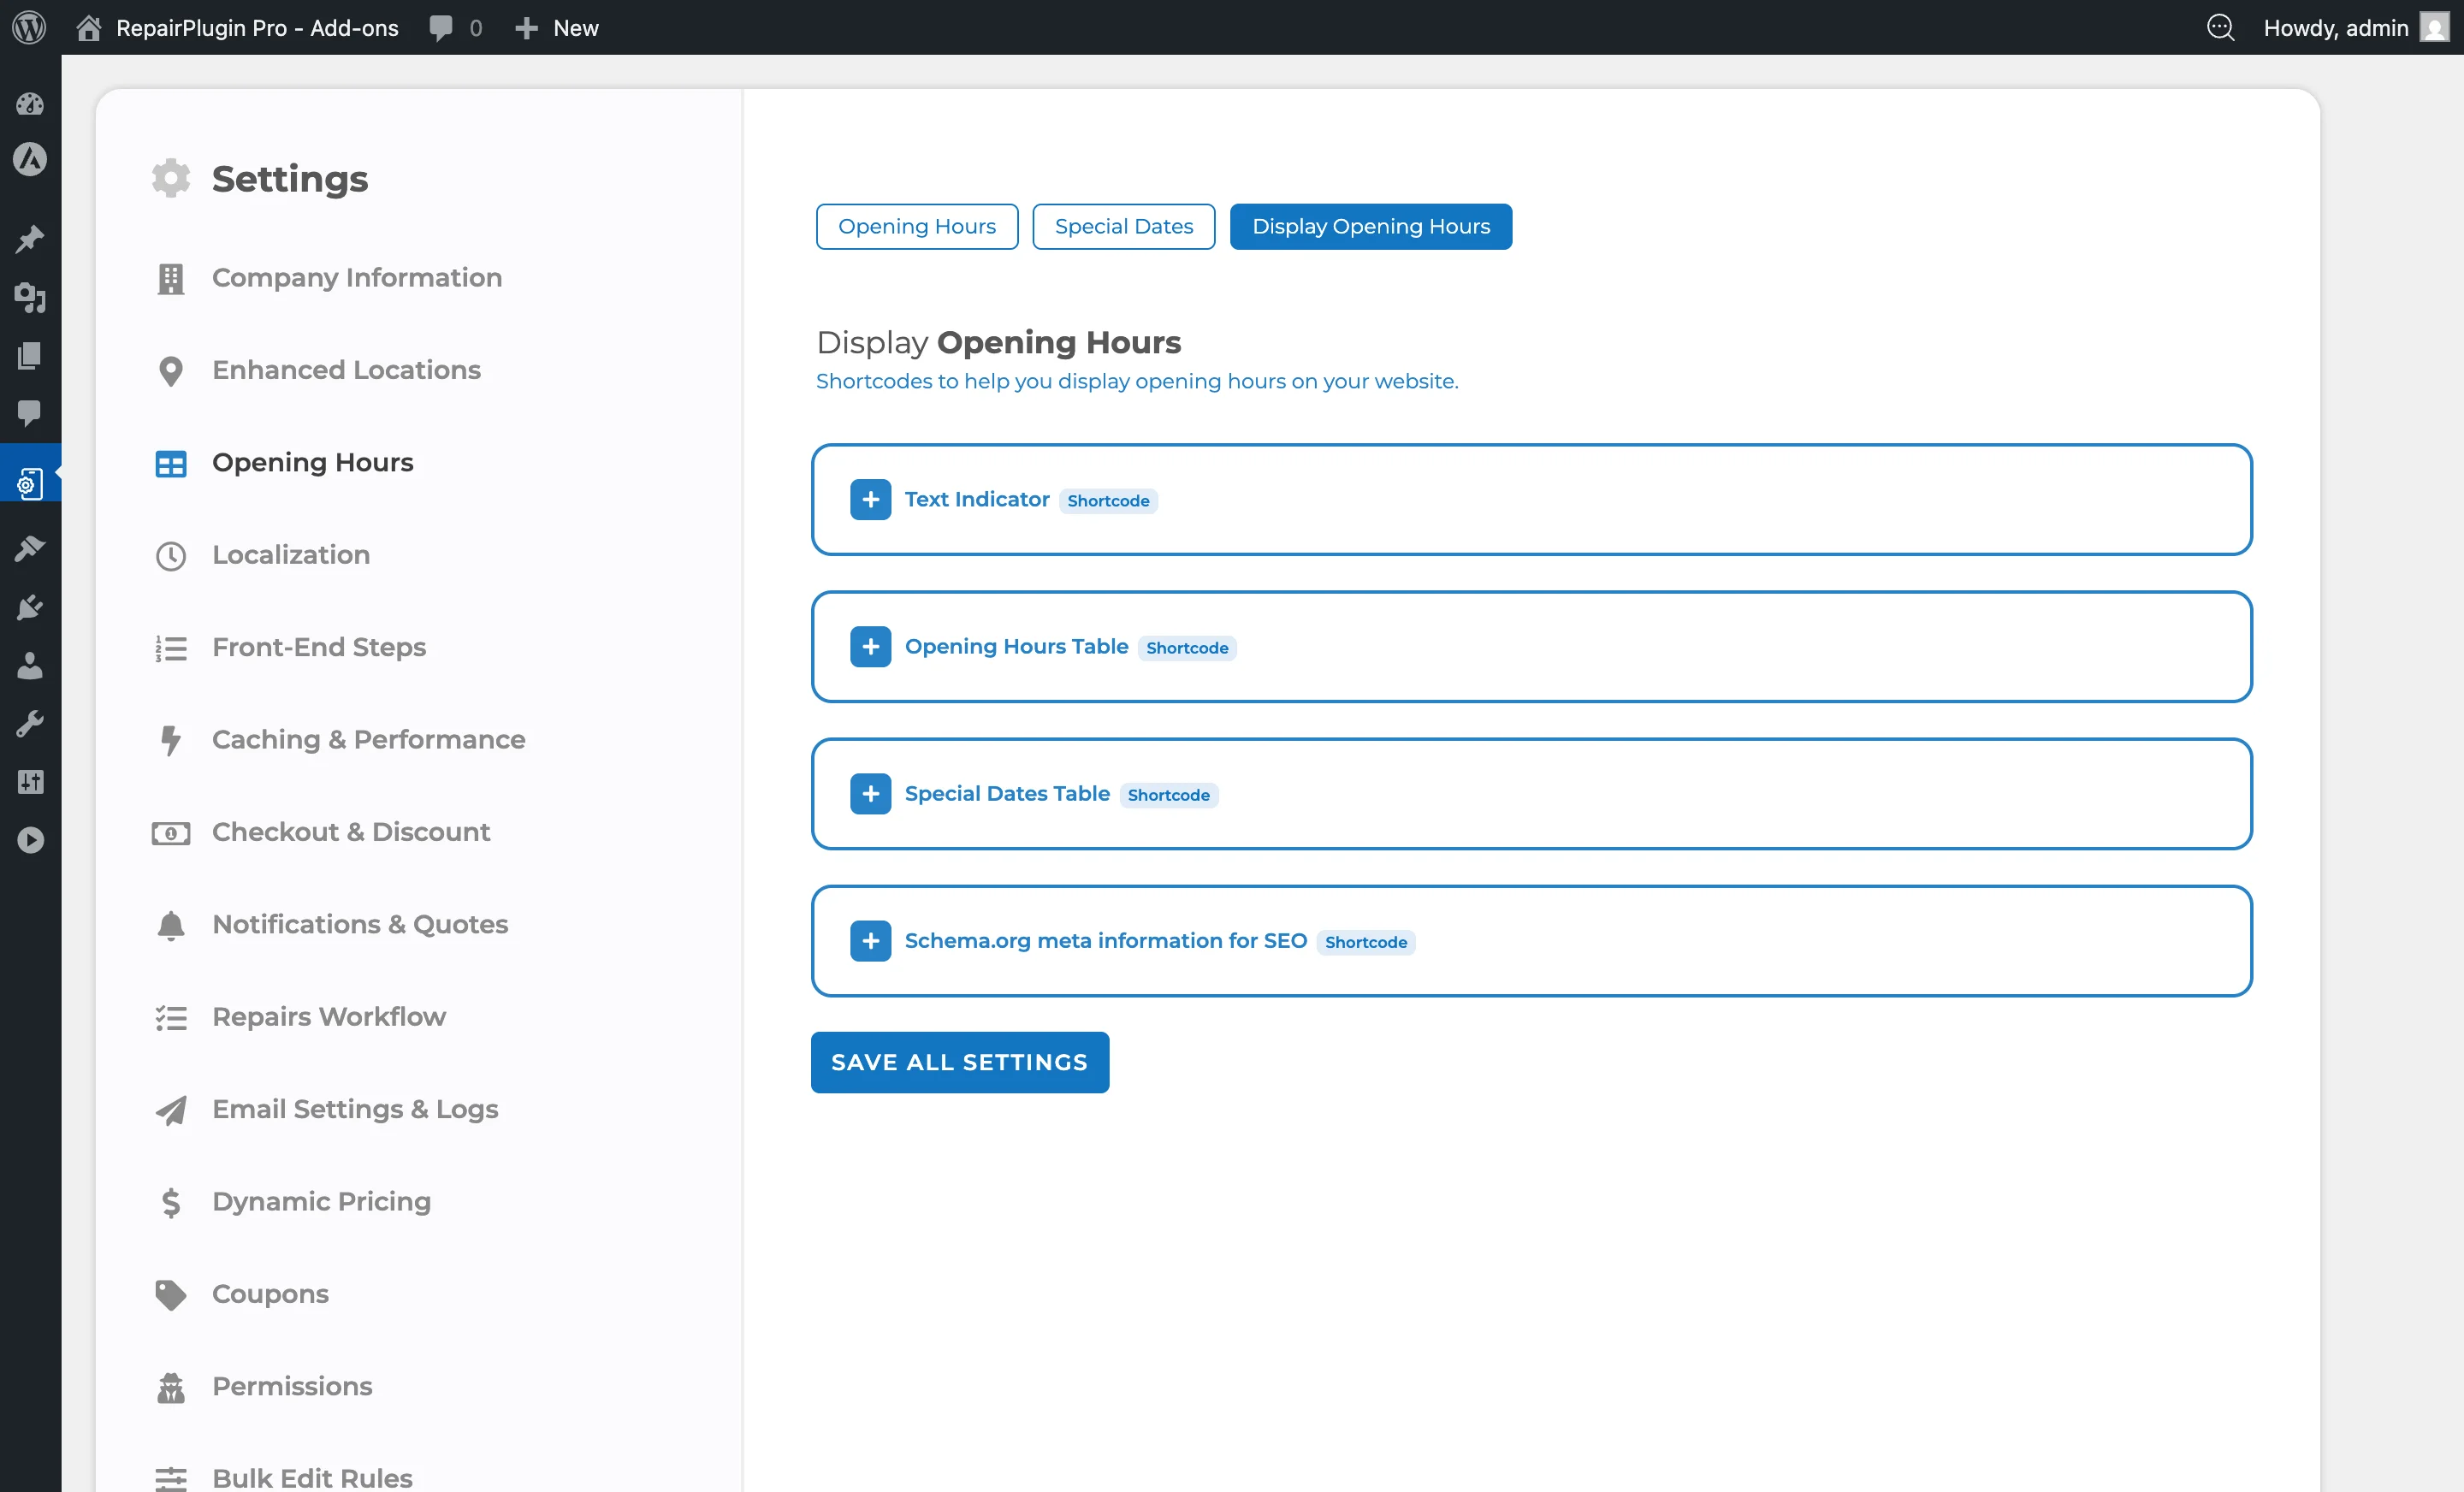
- The page loads with three tabs at the top:
- Opening Hours (active by default)
- Special Dates
- Display Opening Hours

How to set it up
Set opening and closing times
- Go to RepairPlugin > Settings > Opening Hours.
- Click on a location name to expand its schedule table.
- For each day of the week, you'll see these columns:
- Open -- enter the opening time (e.g.,
09:00or9:00 AM). - Close -- enter the closing time (e.g.,
18:00or6:00 PM). - Breaktime -- two fields for break start and break end (optional).
- Closed -- checkbox to mark the day as closed.
- Open -- enter the opening time (e.g.,
- Fill in the times for each day.
- Click Save Changes.
Add a break time
Break times create a gap in the daily schedule where no bookings are available:
- In the schedule table for a location, find the Breaktime columns.
- Enter the break start time in the first field (e.g.,
12:00). - Enter the break end time in the second field (e.g.,
13:00). - The break time must fall between the opening and closing times.
- Click Save Changes.
If the break time is invalid, a red error message appears at the top of the page with a hint for fixing the issue.
Mark a day as closed
- In the schedule table, check the Closed checkbox for the day you want to close.
- The opening and closing times for that day are ignored when the checkbox is active.
- Click Save Changes.
Reorder locations
When you have more than two locations (the main location plus extra locations):
- Use the up/down arrow icons next to each additional location name.
- Click the arrows to reorder.
- Click Save Changes to save the order.
Note: The main location always appears first and can't be reordered.
Using Enhanced Locations?
If Enhanced Locations is active (available on the Scale plan), the standard Opening Hours page shows a message directing you to Enhanced Locations for schedule management. In that case, schedules are managed through schedule groups, which can be shared across multiple locations.
Settings reference
| Setting | Description | Default | Customers see |
|---|---|---|---|
| Open | Sets the time when the location opens and booking time slots begin for that day | varies by setup (e.g., 09:00) | They can't select time slots before this time. |
| Close | Sets the time when the location closes and booking time slots end for that day | varies by setup (e.g., 18:00) | They can't select time slots after this time. |
| Breaktime From / To | Creates a break period during which no booking time slots are available. The break start must be after opening and the break end must be before closing Tip: Use this for lunch breaks or any regular time during the day when you don't want to accept bookings. | empty (no break) | No time slots are available during the break period. |
| Closed | Marks the day as closed. No time slots are created for closed days | unchecked | The day doesn't appear as an available booking date. |
Does each location have its own schedule?
Yes. Every location has its own independent weekly schedule. Click on each location name to expand and edit its hours.
What happens when I use Enhanced Locations?
The standard Opening Hours page shows a message directing you to the Enhanced Locations section. Schedules are then managed through schedule groups that can be shared across multiple locations.