Plugin Installation
Set up RepairPlugin on your WordPress site in three steps — purchase a license, upload the plugin, and activate it with your license key.
What can you do with this?
- Get up and running quickly -- Install and activate RepairPlugin in under 5 minutes
- Unlock all features with your license key -- One activation gives you access to the full plugin
- Keep the plugin updated easily -- Upload new versions without losing your settings or data
- Move your license between sites -- Deactivate on one domain and reactivate on another when needed
Where to find it
The installation begins in the standard WordPress plugin installation area. After activation, RepairPlugin appears at:
- Admin menu:
RepairPluginin the left sidebar of your WordPress admin dashboard
How to set it up
Prerequisites
Before installing RepairPlugin, make sure you have:
- WordPress version: 5.0 or higher (latest version recommended)
- PHP version: 7.4 or higher (8.0+ recommended)
- MySQL version: 5.7 or higher
- Server requirements:
mail()function enabled (or an SMTP plugin configured) for email notifications - Admin access: WordPress administrator privileges to install plugins
- License: An active RepairPlugin license (monthly or annual)
Step 1: Purchase a license
- Go to repairplugin.com/onboard/checkout
- Select either a monthly or annual license plan
- Complete the payment process
- Check your email inbox for the confirmation email containing:
- The plugin download link (a
.zipfile) - Your license key
- The plugin download link (a
Step 2: Upload and install the plugin
- Log in to your WordPress admin dashboard
- Navigate to Plugins > Add New
- Click Upload Plugin at the top of the page
- Click Choose File and select the RepairPlugin
.zipfile you downloaded - Click Install Now
- Wait for the upload and installation to complete
- Click Activate Plugin
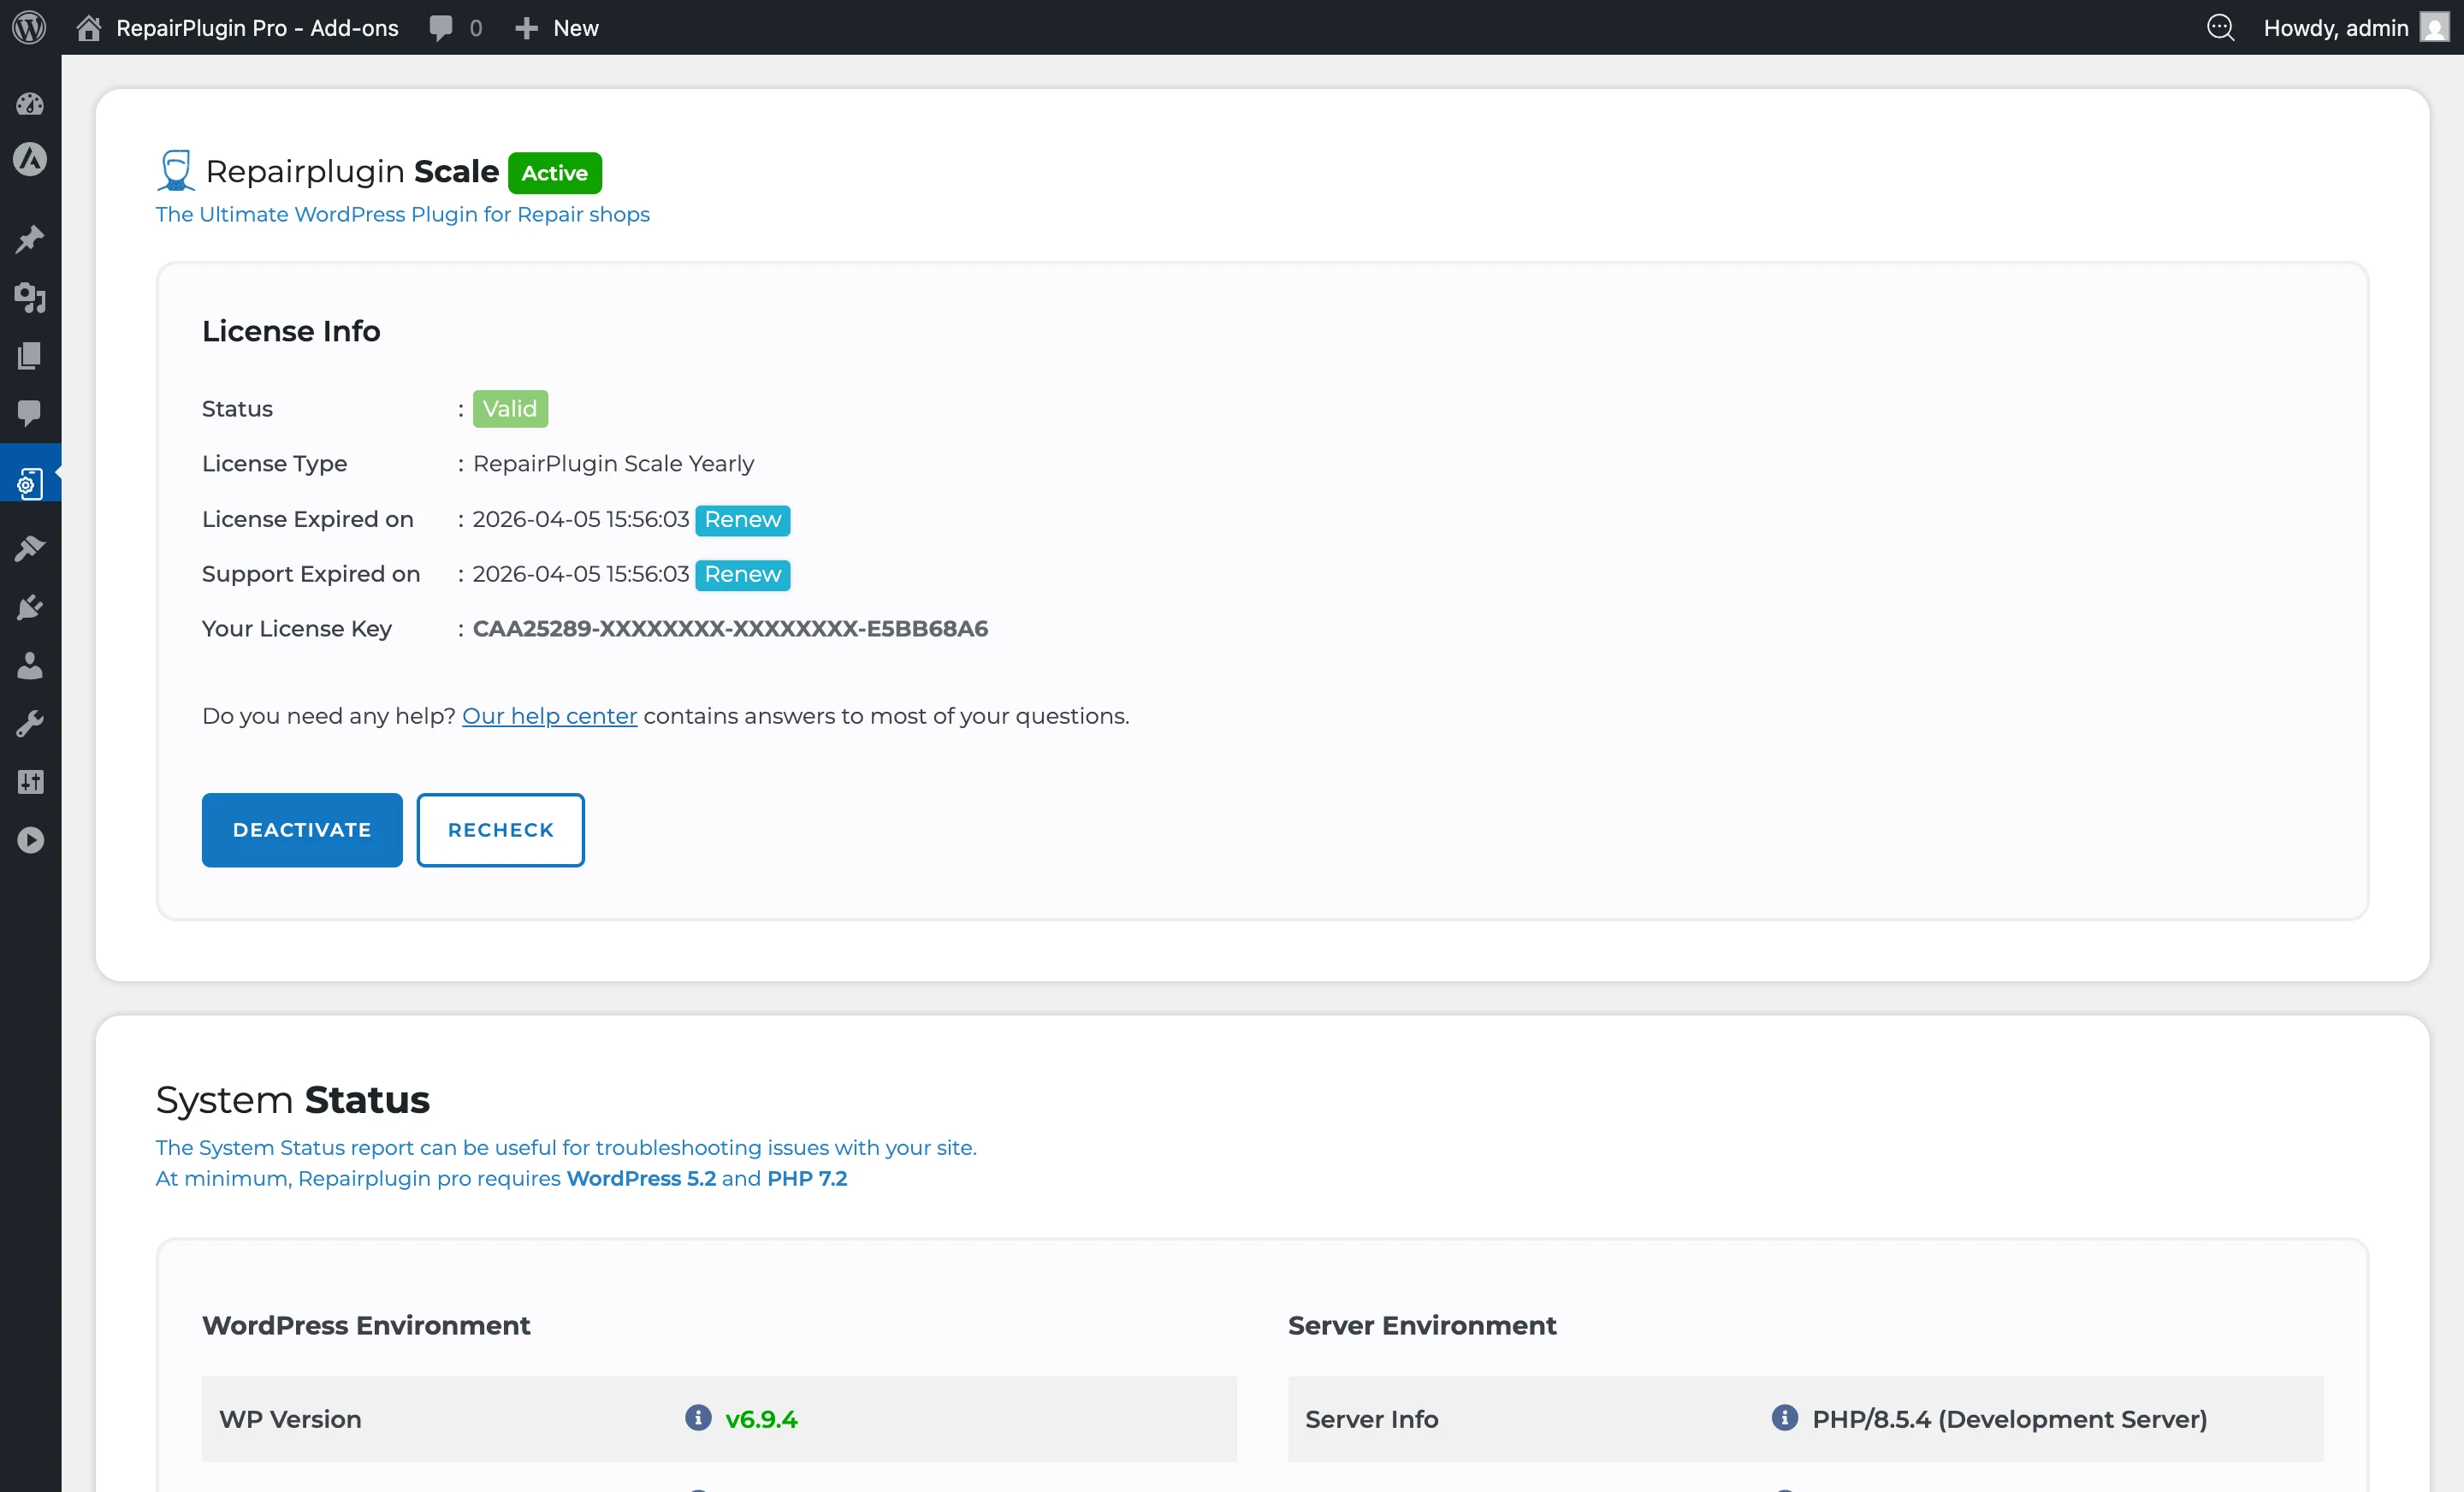
Step 3: Activate your license
- After activation, go to RepairPlugin in the left sidebar (the menu item appears as "RepairPlugin")
- You'll see the license activation screen
- Enter your license key in the designated field
- Your license key was included in the email you received after purchase
- Click Activate
- Once activated, all RepairPlugin features become available
Step 4: Follow the setup wizard (recommended)
After activating your license, RepairPlugin may redirect you to the Setup Wizard. This guided process helps you:
- Configure your company information
- Set up your first location and opening hours
- Download device models and repairs
- Place the shortcode on a page
If the wizard doesn't appear, you can manually configure RepairPlugin through the Settings menu.
Updating the plugin
When a new version of RepairPlugin is available:
- Download the latest
.zipfile from the link provided in your update notification email - Go to Plugins > Add New > Upload Plugin
- Upload the new
.zipfile - WordPress will detect the existing installation and offer to replace it
- Click Replace current with uploaded to update
- Your settings, data, and license stay intact after the update
Deactivating or moving your license
If you need to move your license to a different website:
- Go to RepairPlugin in the admin sidebar
- Find the license management section
- Click Deactivate to release the license from the current domain
- You can then activate the license on another WordPress installation
Settings reference
| Setting | Description | Default | Customers see |
|---|---|---|---|
| License Key Field | Accepts your RepairPlugin license key to unlock all features | empty | Nothing. Without a valid license, only the admin license activation screen is shown. No plugin features are accessible on the front-end. |
Post-installation admin menu
Once the license is activated, the following menu items appear under RepairPlugin:
| Menu Item | What it does |
|---|---|
| Analytics | Dashboard with booking statistics and revenue tracking |
| Appointments | View and manage all bookings |
| Repairs Workflow | Track repair progress through status stages |
| Customers | Customer database and management |
| Categories | Manage device categories |
| Models & Repairs | Manage device models and repair types |
| Upsales | Configure additional products/services |
| Download | Import models and repairs from the cloud database |
| Default Repairs | Manage default repair types and pricing |
| Settings | All plugin configuration options (16 sections) |
Database tables
Upon activation, RepairPlugin creates 70+ database tables in your WordPress database, all prefixed with rs_. These tables store all plugin data including company information, appointments, customers, models, repairs, and settings. No data is sent to external servers.
Frequently asked questions
Can I install RepairPlugin on more than one website?
Each license is valid for one domain. If you need to move it, deactivate the license on the current site first, then activate it on the new one.
What happens if my license expires?
The plugin continues to work, but you won't receive updates or access to new features. Renew your license to get the latest version.
Will I lose my data when updating the plugin?
No. Uploading a new version replaces only the plugin files. Your settings, appointments, customers, and all other data stay intact.
What happens to my data if I deactivate RepairPlugin?
Nothing is deleted. Deactivating the plugin only clears its internal cache. All your database tables, settings, appointments, and customer data stay intact. You can safely deactivate and reactivate without losing anything.