Resetting Data
Learn how to safely reset appointment data or all RepairPlugin data to start fresh. Includes verification safeguards and undo protection.
What can you do with this?
- Clear test appointments — wipe all appointment and customer data while keeping your settings, categories, and prices intact.
- Start completely fresh — reset everything back to a clean-install state, as if you just installed the plugin.
- Lock the reset buttons — disable the buttons on a live site to prevent accidental data loss.
- Stay safe with verification — re-enabling reset buttons requires an email verification code, so no one can do it by accident.
Where to find it
- In your WordPress admin, go to RepairPlugin in the left sidebar.
- Click Settings.
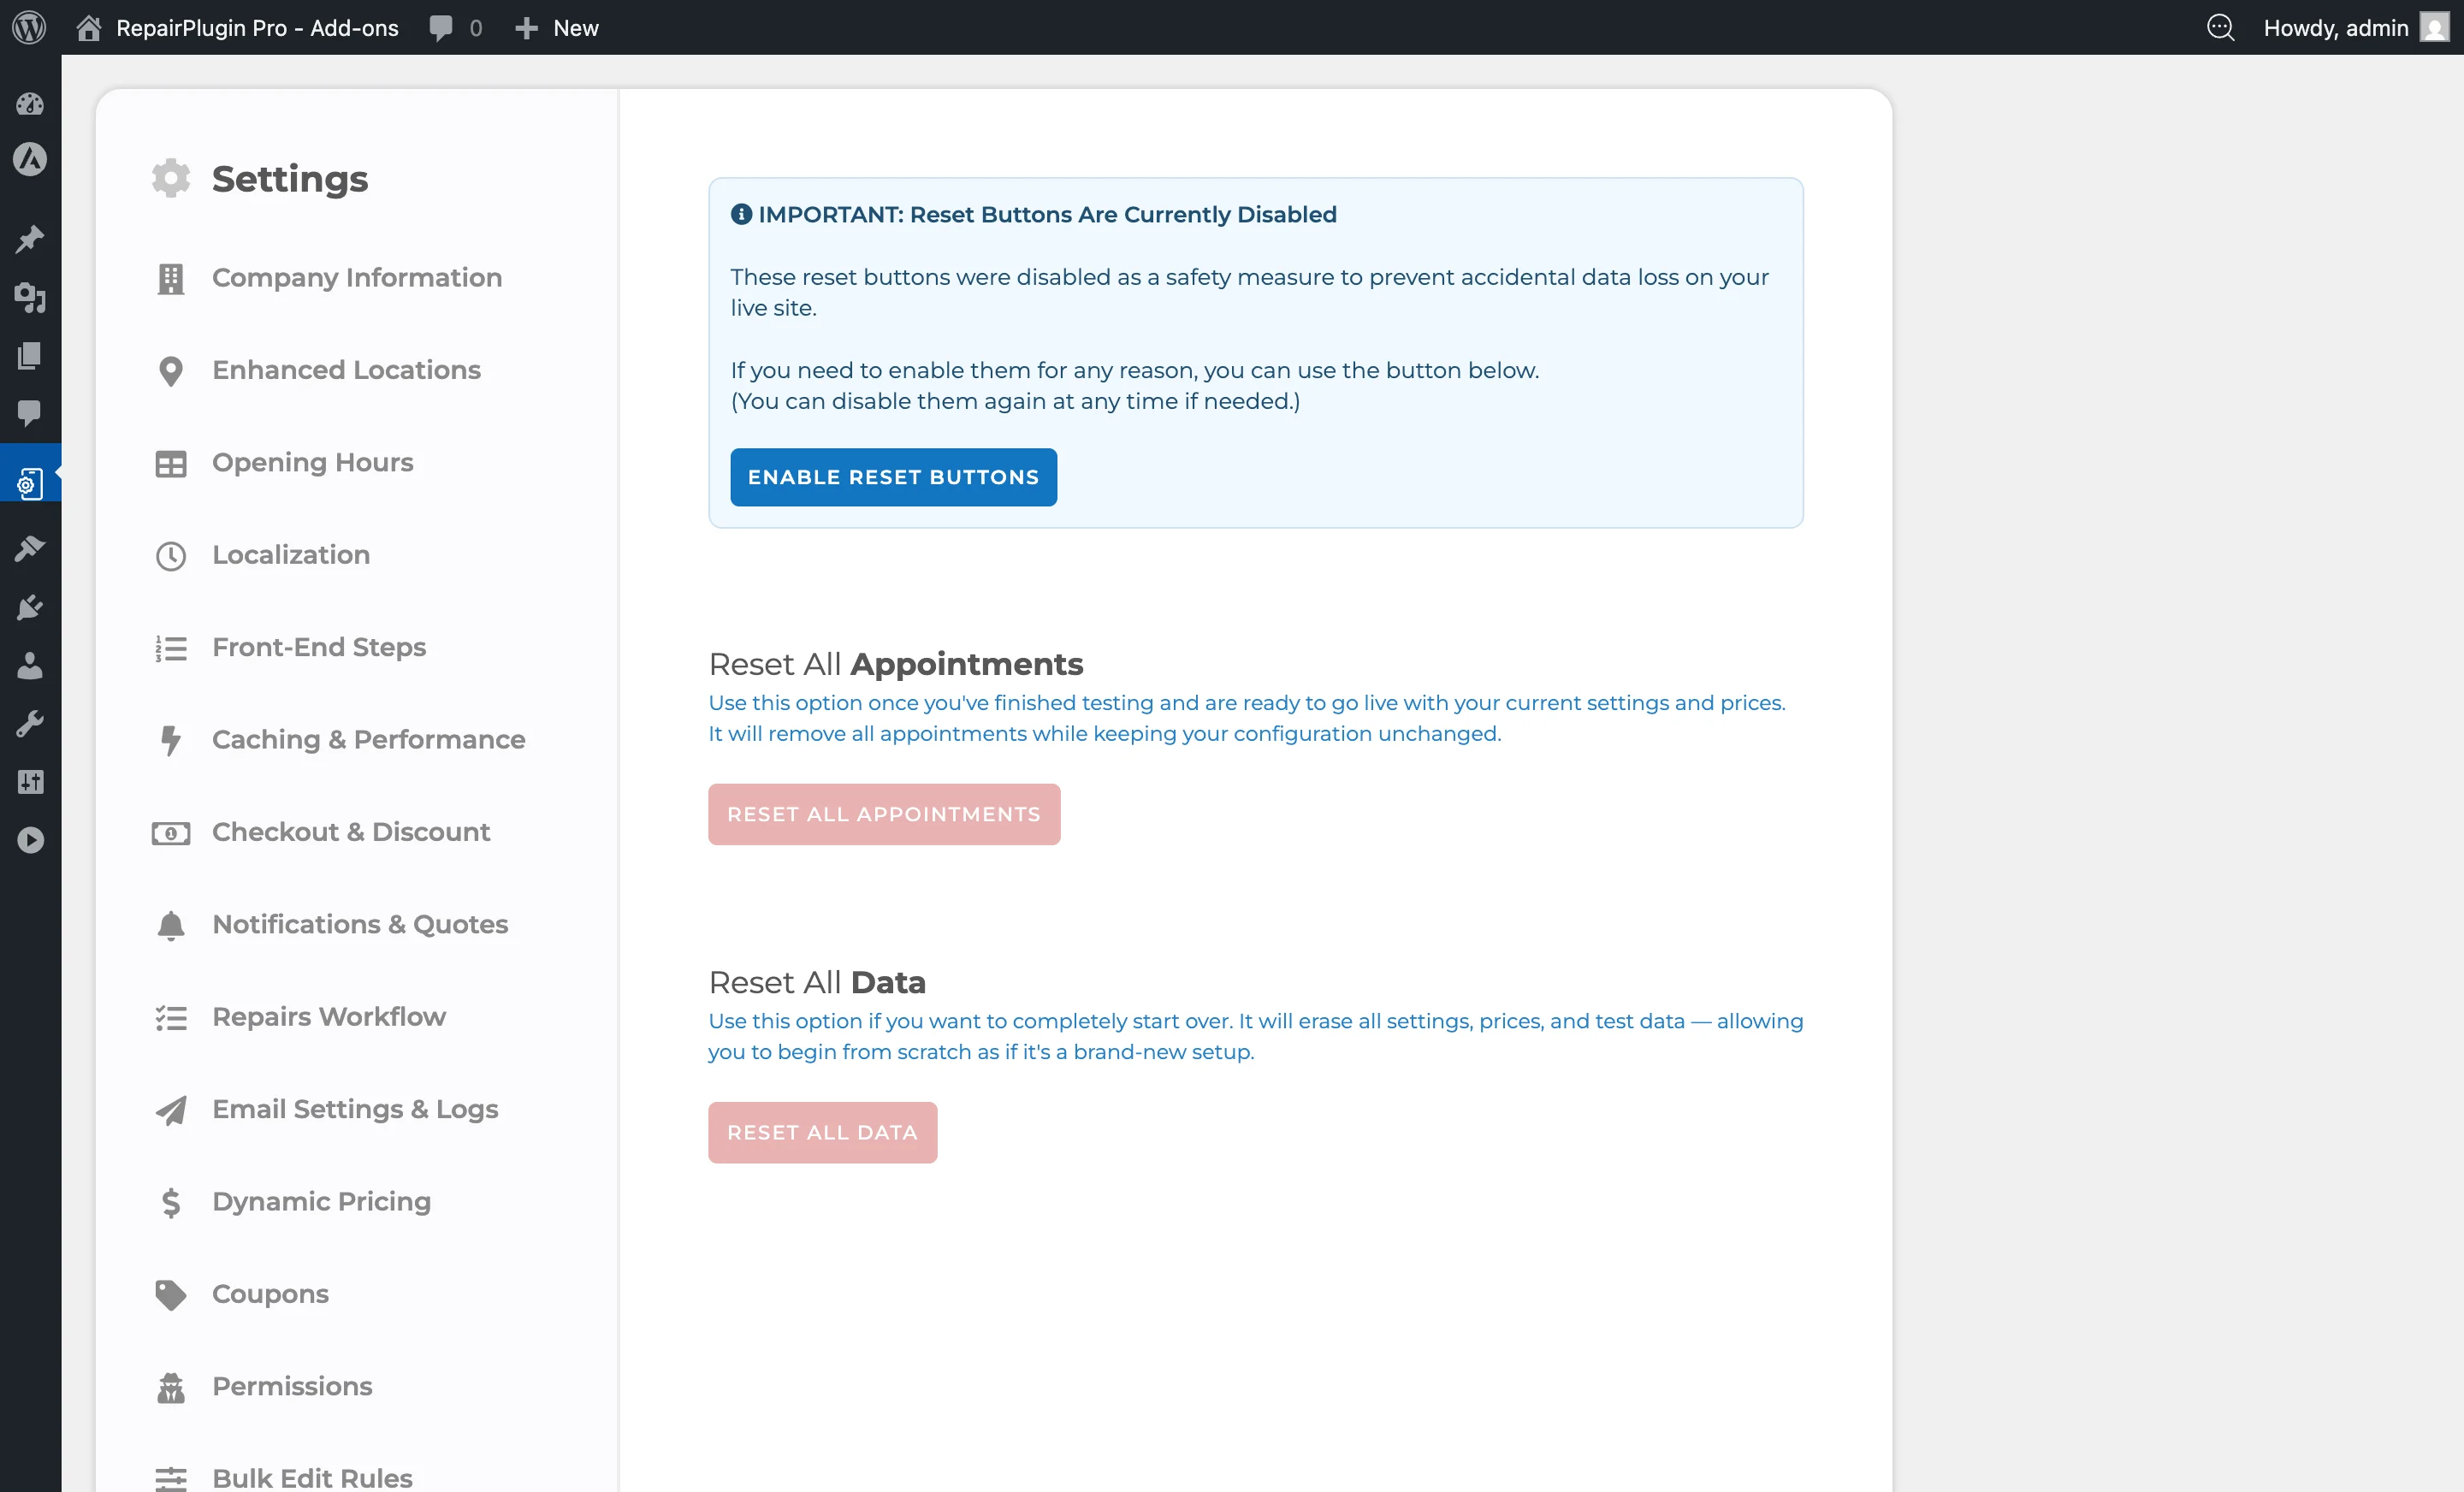
- In the settings sidebar, click Reset Data (last item — only visible to WordPress administrators).
How to set it up
Disable the reset buttons (recommended for live sites)
- Go to the Reset Data page.
- At the top, an info box warns: "These reset options are meant for testing purposes only."
- Click Disable Reset Buttons.
- Confirm by clicking Yes, Disable in the popup.
- Both reset buttons are now grayed out and can't be used.
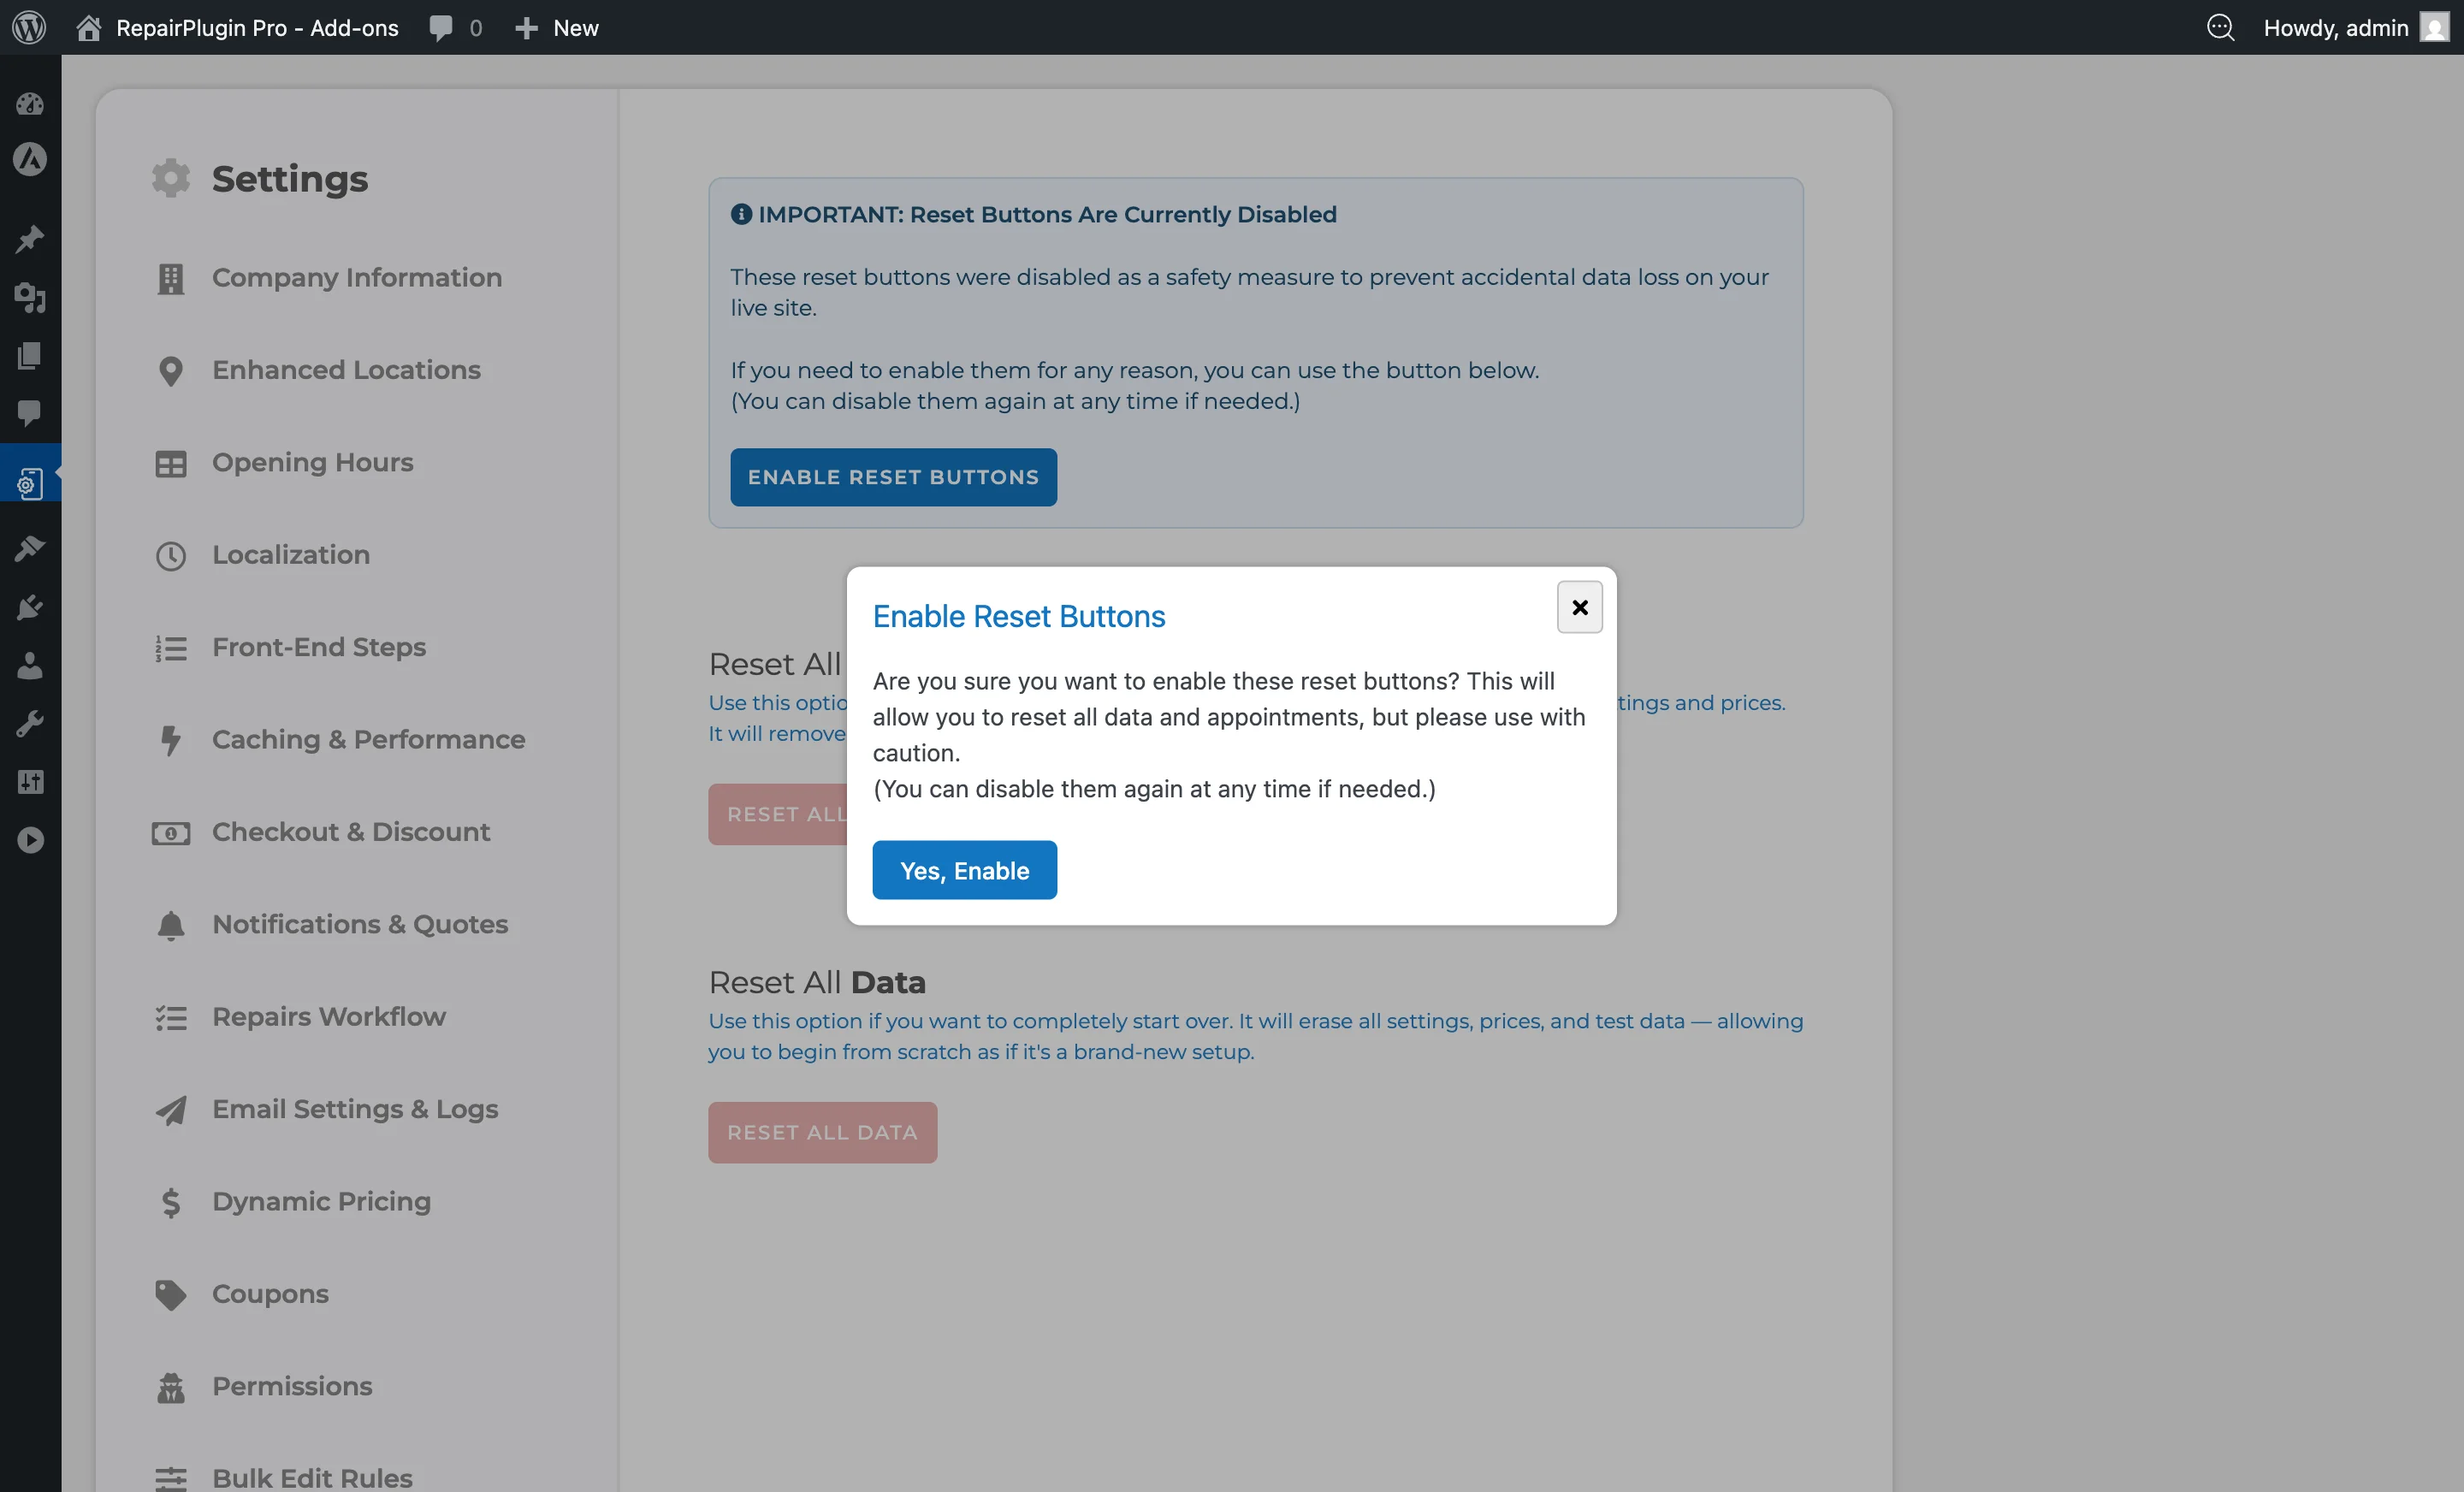
Re-enable the reset buttons
- Go to the Reset Data page.
- The info box now says: "Reset Buttons Are Currently Disabled."
- Click Enable Reset Buttons.
- Confirm by clicking Yes, Enable in the popup.
- A verification code is sent to the WordPress administrator email address.
- Enter the 6-character verification code in the input field that appears.
- Click Confirm.
- The reset buttons are active again.
Tip: The verification code expires after 15 minutes. If it expires, refresh the page and request a new code.
Reset All Appointments
This clears all appointment and customer data while keeping your settings and repair catalog.
- Make sure the reset buttons are enabled.
- Click the red Reset All Appointments button.
- Type
RESET ALLin the confirmation popup (not case-sensitive).
- Click Confirm Reset.
- Wait for the process to finish (a loading spinner shows progress).
- A success message confirms: "All Appointments Reset Successfully."
- Clear your browser cache and any server-level cache.
- Click Close to reload the page.
What gets deleted:
- Customer records and customer details
- All orders and order details (repairs, attributes, upsales)
- Timeslots and delivery method timeslots
- User PDFs and generated reports
- Appointment numbers
- Google Calendar sync entries
- Analytics funnels (steps, visits, quotes, starts)
- Email queue entries
What stays:
- Categories, models, repairs, and prices
- Upsales configuration
- All settings (company info, opening hours, styling, etc.)
- Coupons and discount rules
- Email templates and SMTP settings
- License activation
Reset All Data
This deletes everything and returns the plugin to a blank state.
- Make sure the reset buttons are enabled.
- Click the red Reset All Data button.
- Type
RESET ALLin the confirmation popup (not case-sensitive). - Click Confirm Reset.
- Wait for the process to finish (a loading spinner shows progress).
- A success message confirms: "All Data Reset Successfully."
- Clear your browser cache and any server-level cache.
- Click Close to reload the page.
What gets deleted:
- Everything from "Reset All Appointments" above
- All categories, models, repairs, and price configurations
- All plugin settings and options
- Upsales, coupons, default repairs, and bulk edit rules
What stays:
- Your license activation (stored separately)
- WordPress core data (posts, pages, users, etc.)
Warning: Both reset operations are irreversible. Always create a backup using Import & Export before resetting.
Settings reference
| Setting | Description | Default | Customers see |
|---|---|---|---|
| Disable Reset Buttons | Disables both reset buttons to prevent accidental use on a live site | reset buttons are enabled | No visible change — this is an admin-only feature. |
| Enable Reset Buttons | Sends a verification code to the WordPress admin email. After entering the code, the reset buttons become active again | — | No visible change. |
| Reset All Appointments | Permanently deletes all appointment-related data (customers, orders, timeslots, analytics, email queue). Your settings and repair catalog stay intact | — | The booking form shows no existing appointments. All customer history is removed. The form itself continues to work normally with your existing settings. |
| Reset All Data | Deletes all plugin data and settings, returning the plugin to a fresh-install state. Only your license activation is preserved | — | The booking form won't work until you reconfigure the plugin (add categories, models, repairs, prices, etc.). |
Frequently asked questions
What's the difference between Reset All Appointments and Reset All Data?
Reset All Appointments removes customers, orders, timeslots, analytics data, and the email queue -- but keeps all your settings, categories, models, repairs, prices, coupons, and email templates. Use this when you're done testing and ready to go live. Reset All Data removes everything and returns the plugin to a blank state, as if freshly installed.
Does resetting affect my license?
No. Your license key is stored separately and survives both types of reset. You won't need to reactivate after resetting.