Import & Export
Learn how to back up, export, and import your RepairPlugin data for site migrations or disaster recovery using the built-in import/export tool.
What can you do with this?
- Migrate to a new site -- move your complete RepairPlugin setup from staging to production, or from one host to another.
- Create backups -- save a snapshot of all your repair data, models, brands, categories, prices, and settings.
- Restore after mistakes -- recover from accidental changes by importing a previously exported file.
- Download and manage exports -- keep multiple export files and restore any of them when needed.
Where to find it
- In your WordPress admin, go to RepairPlugin in the left sidebar.
- Click Settings.
- In the settings sidebar, click Import / Export Data.
Tip: This page is only available to Top Level users (those with the
activate_pluginscapability). Full access users can't see it.
How to set it up
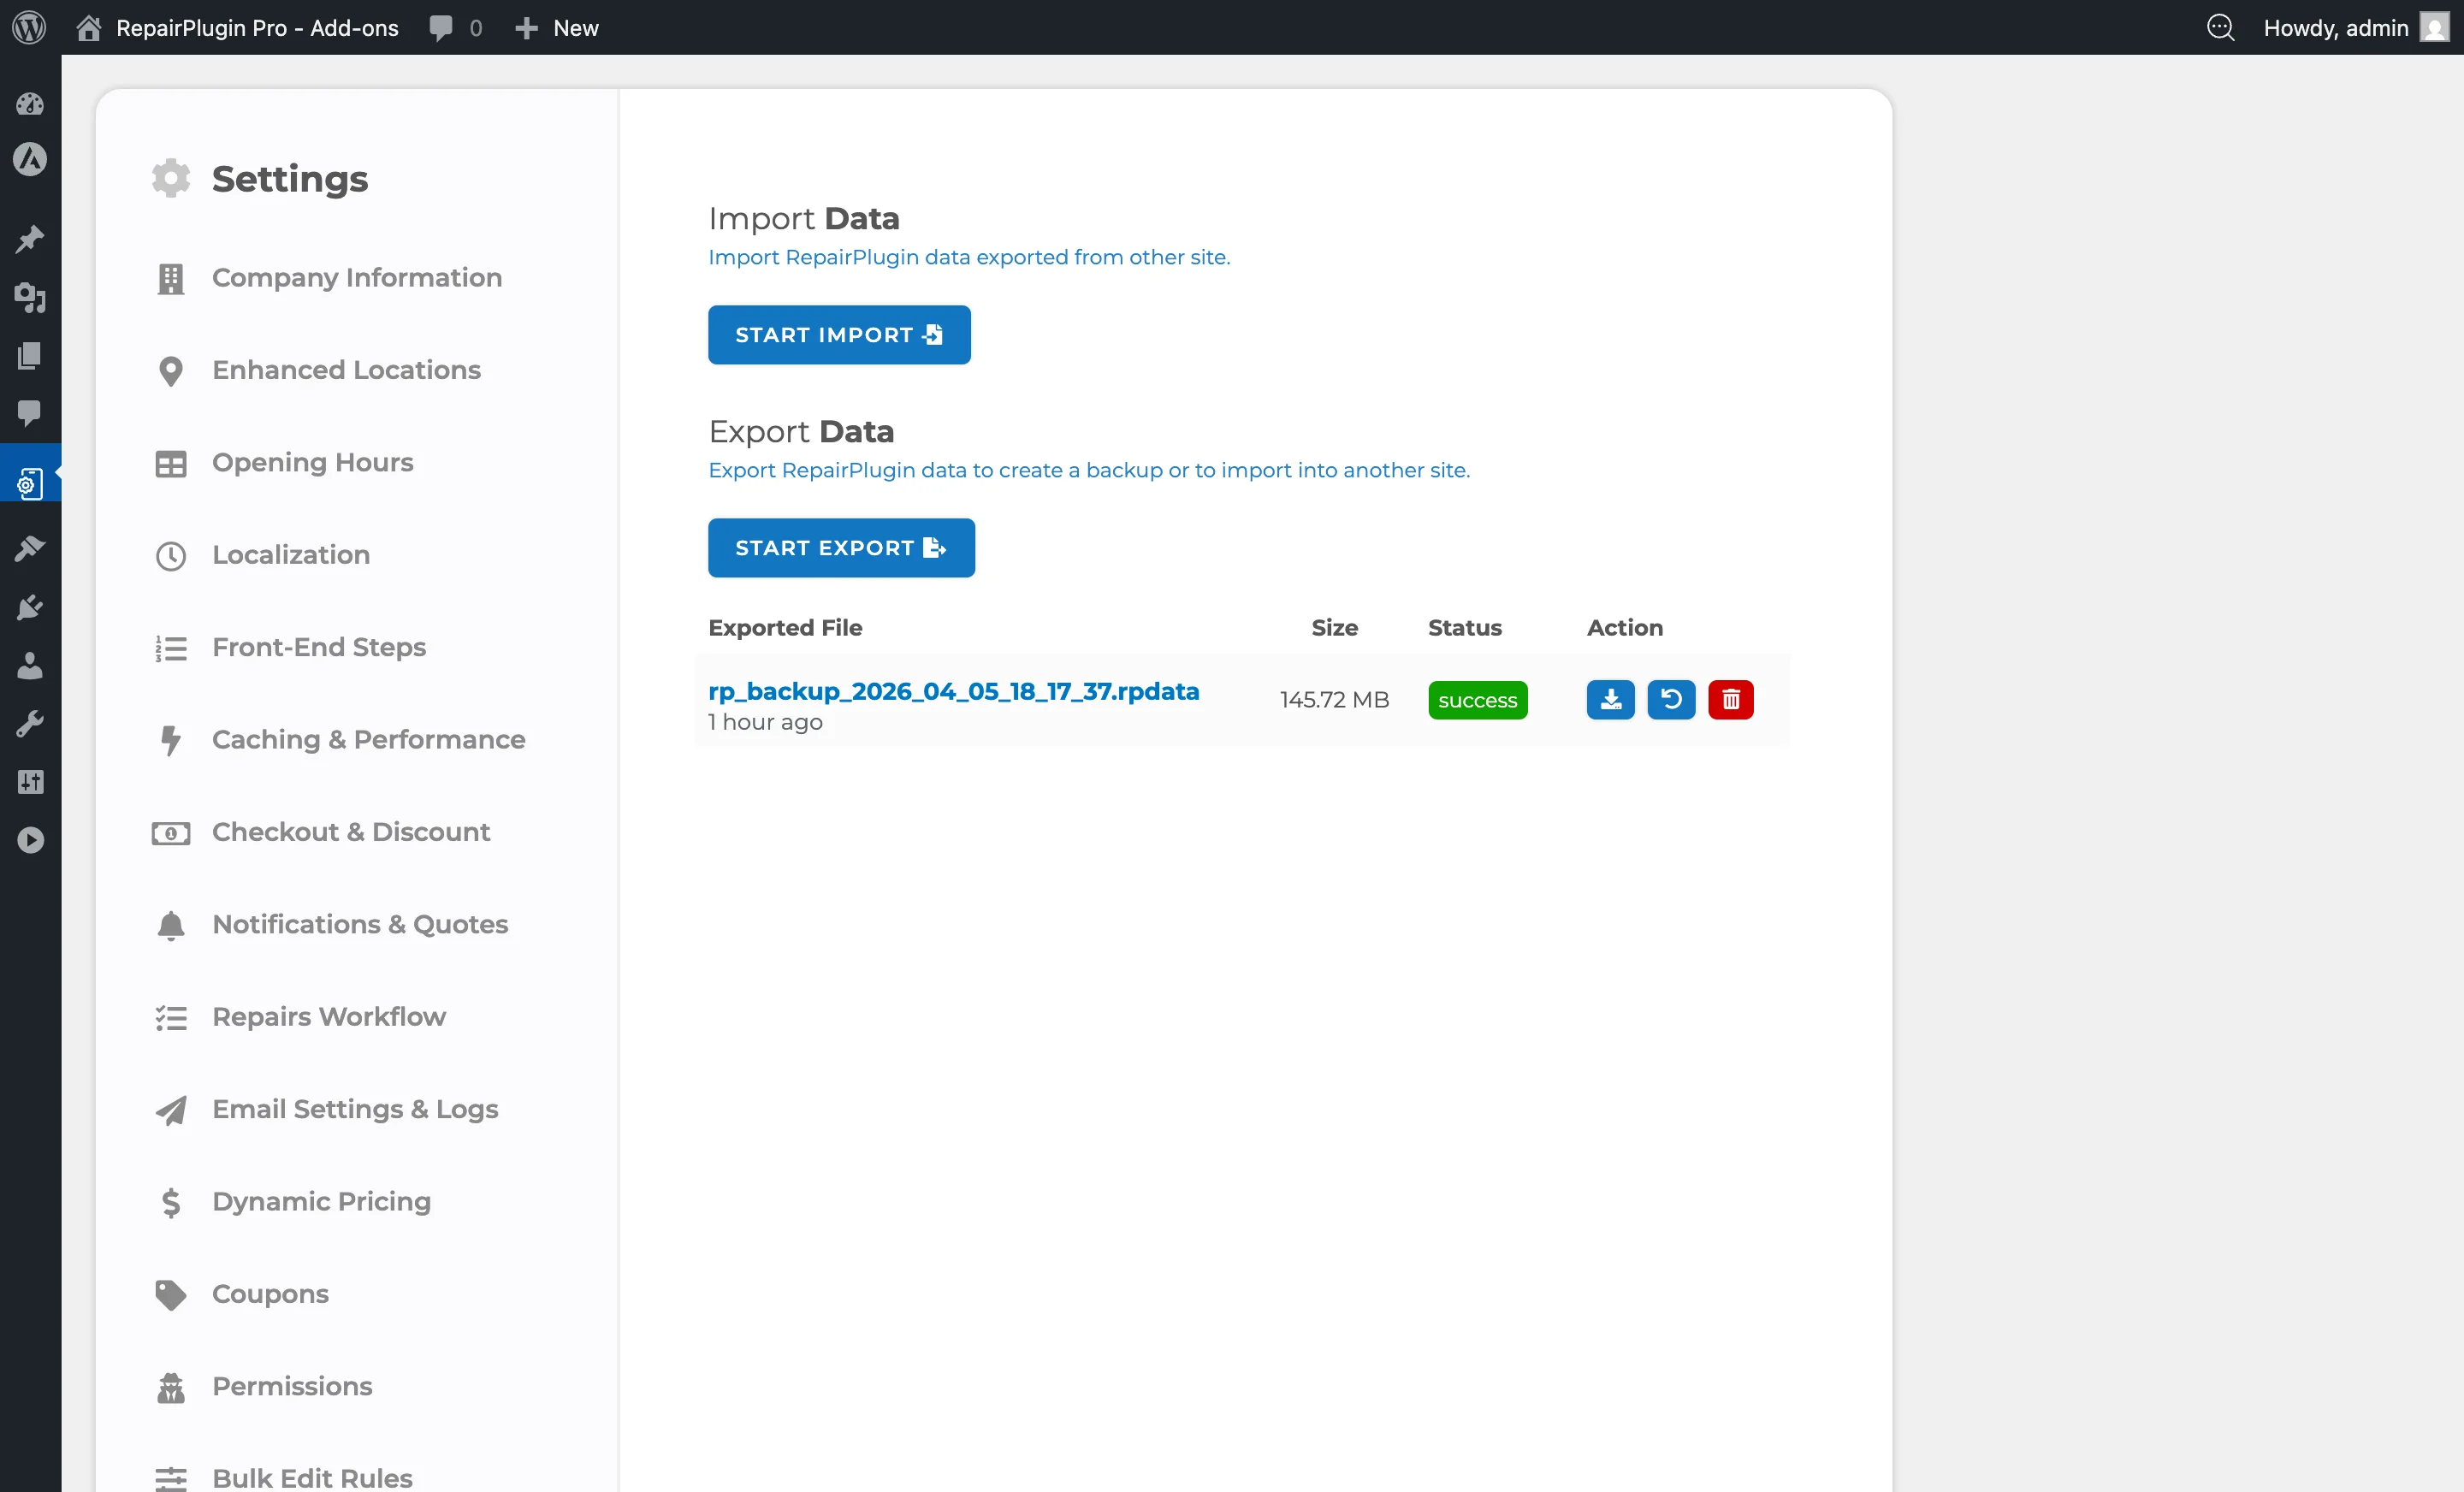
Export your data
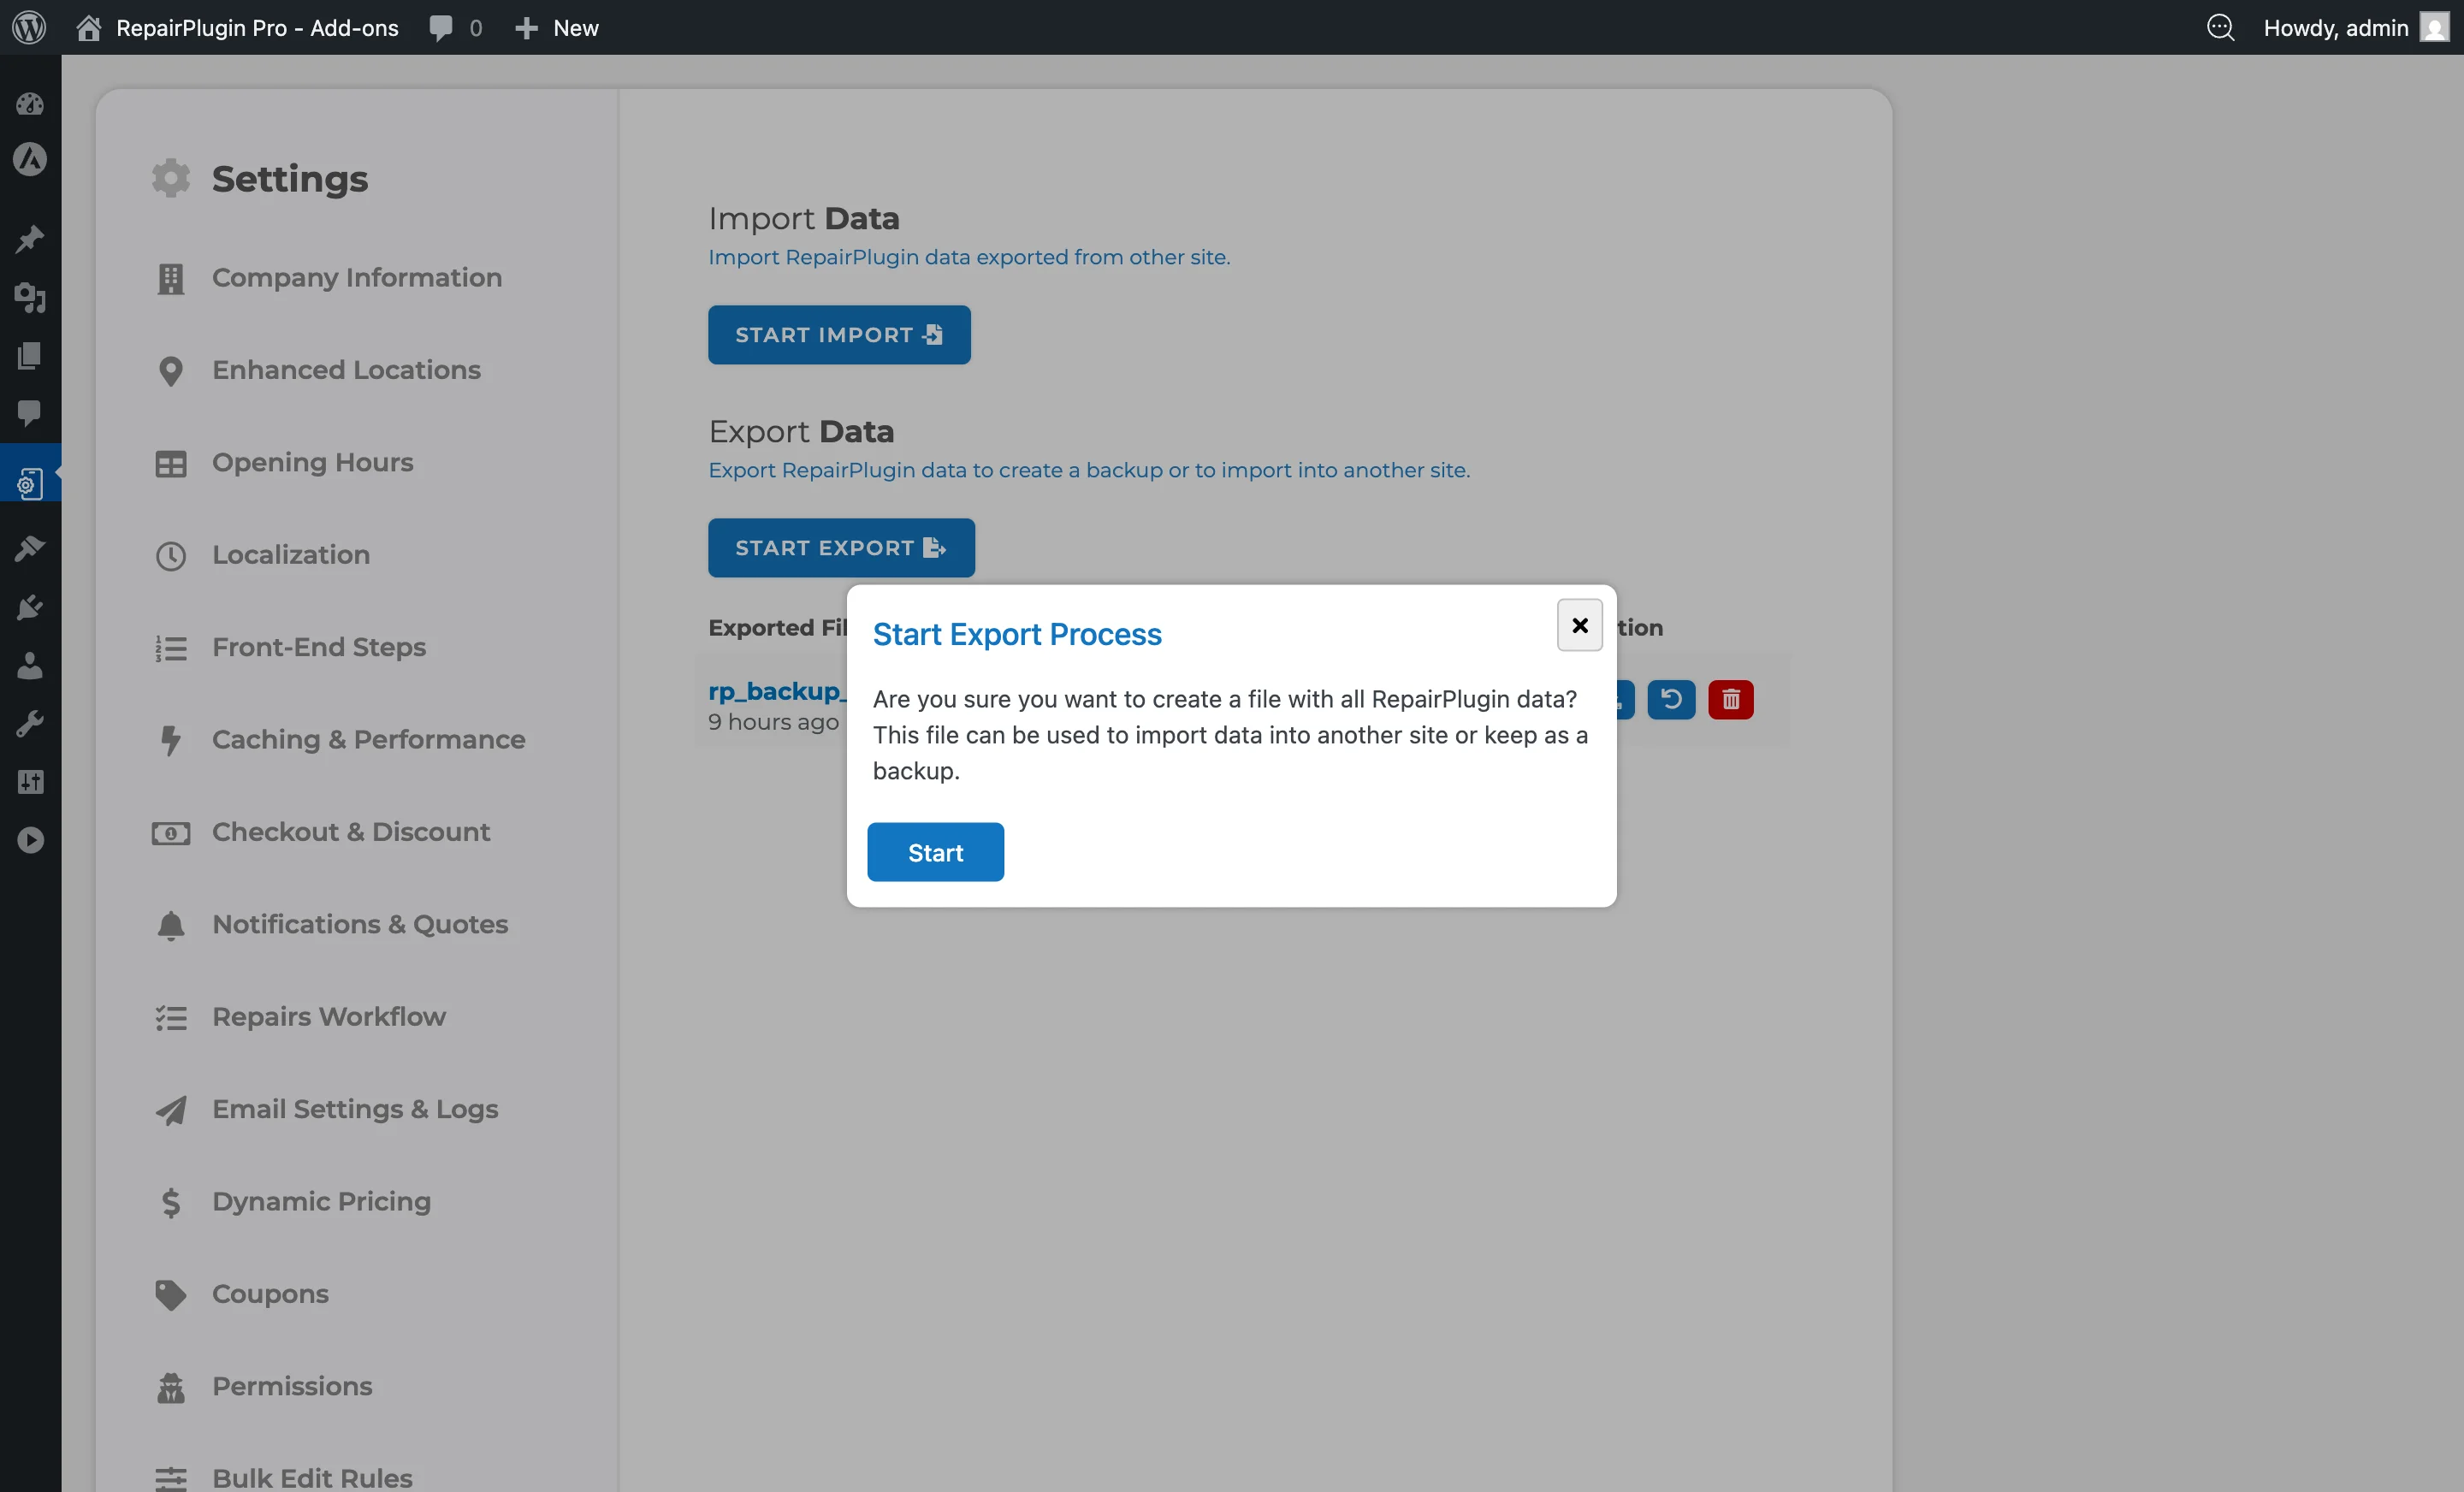
- In the Export Data section, click Start Export.
- A confirmation popup asks: "Are you sure you want to create a file with all RepairPlugin data?"
- Click Start to begin.
- A progress bar shows the current status and percentage.
- When it's done, click Download to save the
.rpdatafile. - The exported file also appears in the table below with its file name, size, status, and timestamp.
Tip: The export button is disabled if another import or export is already running.
Import data
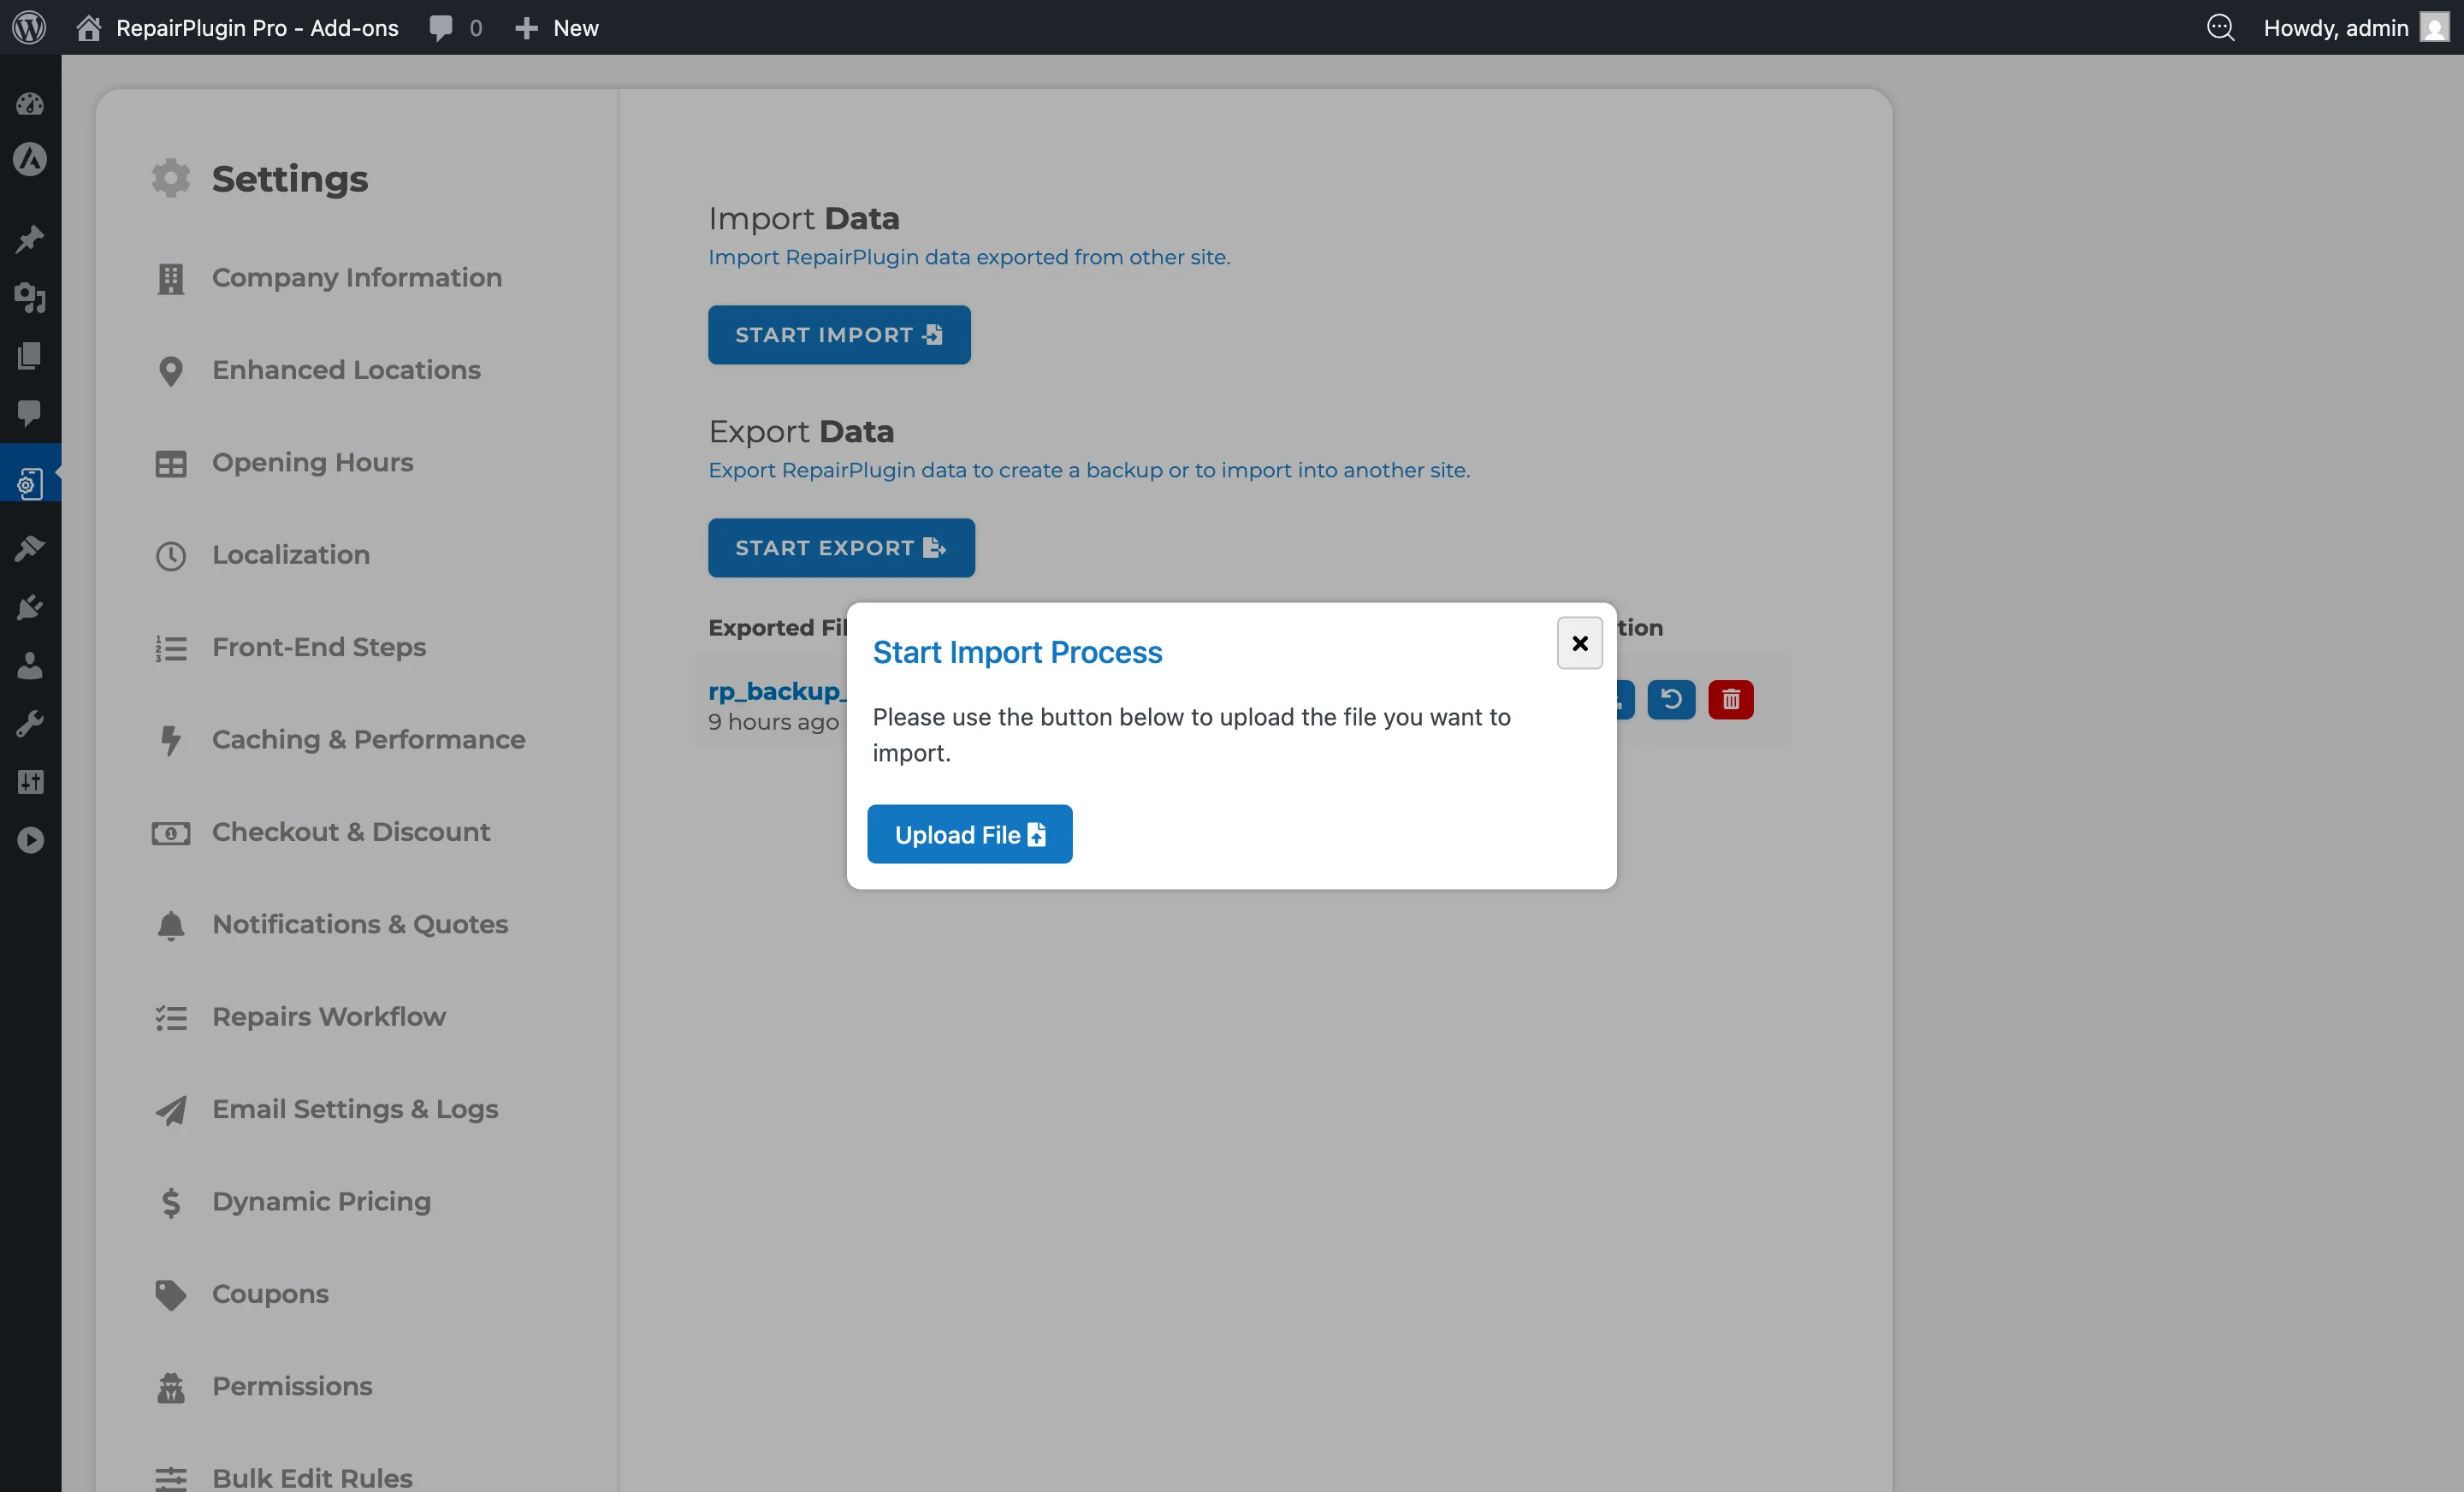
- In the Import Data section, click Start Import.
- A popup appears with an Upload File button.
- Click Upload File and select an
.rpdatafile from your computer.
- Large files are uploaded in 8 MB chunks -- you'll see a progress bar for the upload.
- After the upload finishes, the import starts automatically.
- A progress bar shows the import status and percentage.
- When the import is complete, a success message appears with recommended next steps.
Follow the post-import steps
After a successful import, the plugin recommends these steps:
- Disable Varnish and HTML Cache -- RepairPlugin doesn't support these caching methods. Turn them off if they're active on your site.
- Clear Database Cache -- clear it in your hosting or caching plugin settings if available.
- Clear Object Cache -- clear it if available on your site.
Manage exported files
The export table lists all your exported files with these columns:
| Column | What it shows |
|---|---|
| Exported File | File name and how long ago it was created (e.g., "2 hours ago") |
| Size | File size in MB |
| Status | success, processing, unknown, or failed |
| Action | Download, Restore, and/or Delete buttons |
What you can do with each file:
- Download (green arrow icon) -- save the
.rpdatafile to your computer. Available for files with "success" status. - Restore (undo icon) -- import the data from this file back into the plugin. Available for files with "success" status.
- Delete (trash icon) -- permanently remove the file. A confirmation popup appears before deletion.
Restore from an exported file
- In the exported files table, find the file you want to restore.
- Click the Restore button (undo icon).
- A confirmation popup asks: "Are you sure you want to restore this backup file?"
- Click Restore to begin. The restore process uses the same progress tracking as a regular import.
Settings reference
| Setting | Description | Default | Customers see |
|---|---|---|---|
| Start Import | Opens the file upload dialog so you can select an .rpdata file to import. After import, all repair data (models, brands, prices, schedules, etc.) is replaced with the imported data | N/A | Once caches are cleared, your customers see the imported configuration in the booking flow. |
| Start Export | Creates a full export of all RepairPlugin tables and settings into an .rpdata file | N/A | Nothing -- exporting doesn't affect the live site. |
| File Format (.rpdata) | Stores all RepairPlugin data and configuration in a portable format that can be imported on any site running RepairPlugin | N/A | Nothing -- this is a behind-the-scenes file. |
| Chunk Upload (8 MB) | Splits large files into 8 MB pieces during upload to avoid server upload limits and timeouts | 8 MB per chunk | Nothing -- this happens in the background. |
| Background Processing | Runs export and import operations in the background with real-time progress tracking. Only one operation can run at a time -- both buttons are disabled while a process is active. Keep the page open during the operation | N/A | Nothing during processing. |
Frequently asked questions
Can I import data into a site that already has RepairPlugin data?
Yes, but be aware that importing replaces all existing RepairPlugin data with the imported data. It's a good idea to export your current data first as a backup.
Do I need to clear the cache after importing?
Yes. Follow the post-import steps: disable Varnish and HTML Cache if active, and clear your database and object caches. This makes sure your customers see the updated data.