Google Calendar
Connect RepairPlugin to Google Calendar so new repair bookings automatically appear as calendar events for your team.
google-calendarintegrationoauthcalendar-syncappointments
What can you do with this?
- Auto-create calendar events — every new appointment shows up in your Google Calendar the moment it's booked.
- Keep your team on the same page — staff who use Google Calendar see repair appointments alongside their other events.
- Get mobile notifications — Google Calendar sends reminders to your phone, so you never miss an appointment.
- Choose which calendar to use — pick any calendar in your Google account (for example, a dedicated "Repairs" calendar).
Where to find it
- In the WordPress admin sidebar, click RepairPlugin.
- Click Settings.
- Click Webhooks & Integrations in the sidebar.
- Click the Google Calendar tab at the top of the page.
https://www.repairplugin.com/wp-admin/admin.php?page=wp_repair_settings§ion=webhooks
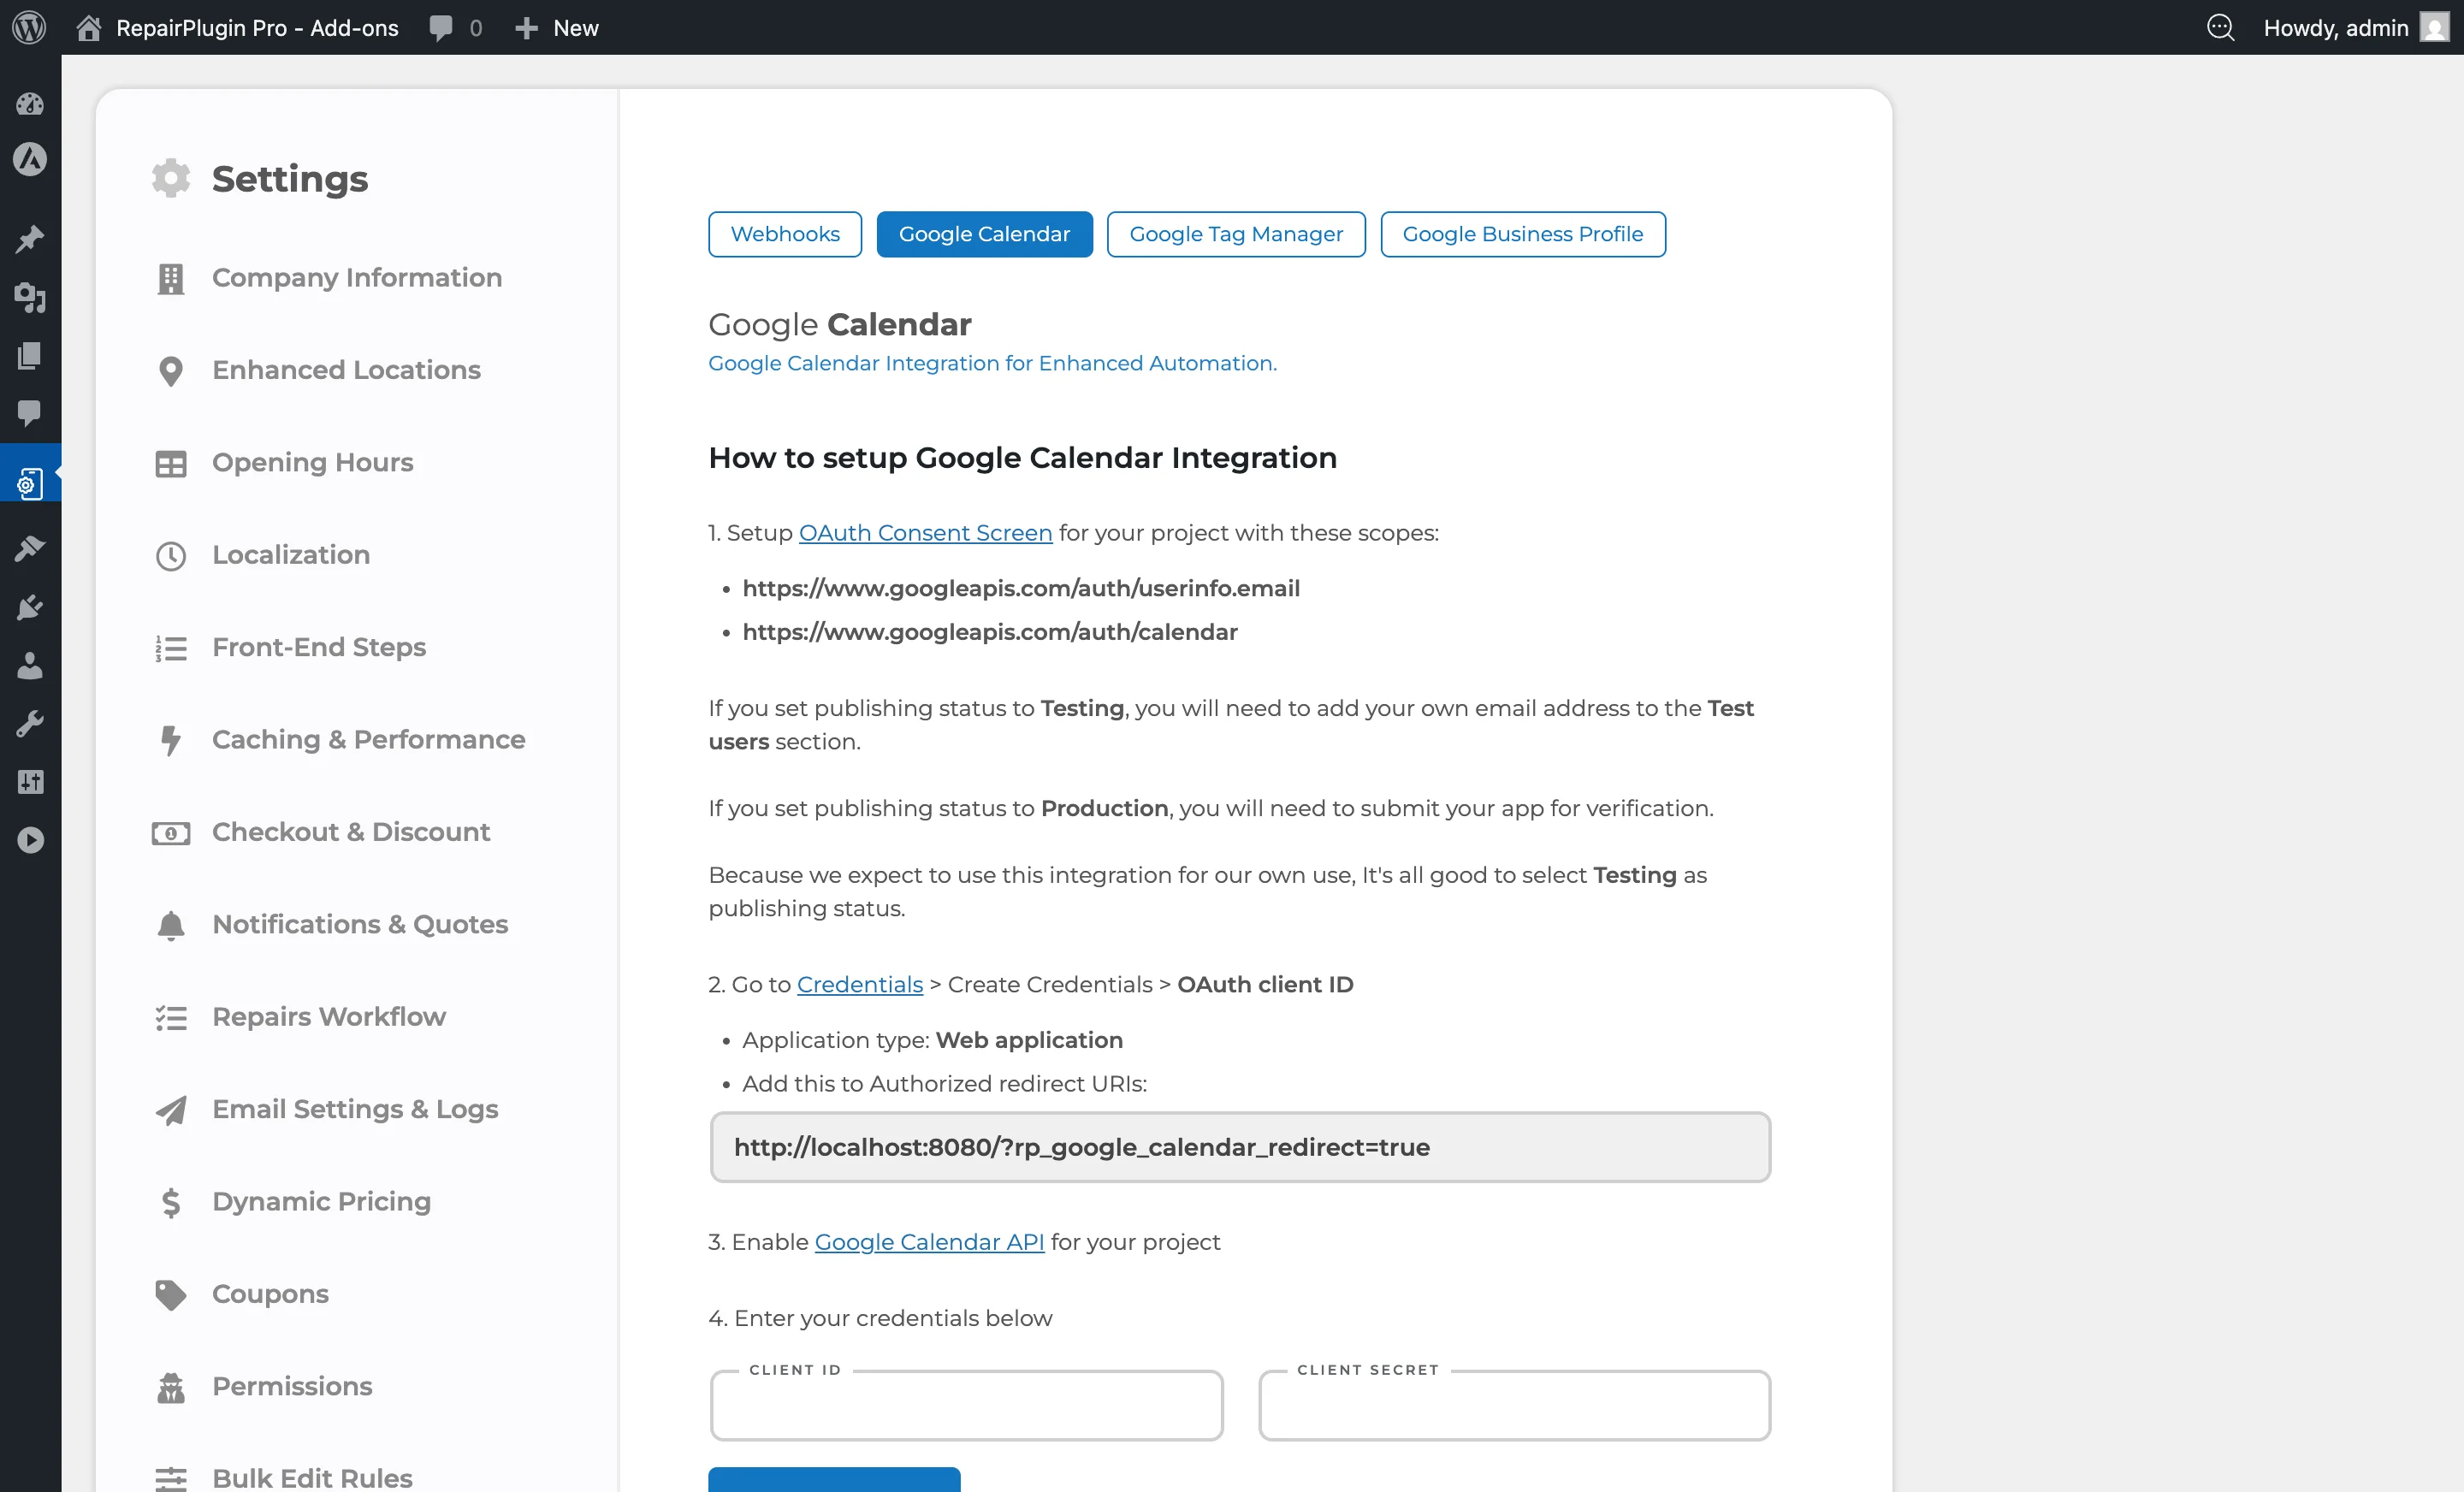
How to set it up
Step 1: Set up the OAuth consent screen
- Go to the Google Cloud Console OAuth Consent Screen.
- Configure the consent screen with these required scopes:
https://www.googleapis.com/auth/userinfo.emailhttps://www.googleapis.com/auth/calendar
- Set the publishing status:
- Testing — add your email to Test Users. Recommended for personal or internal use.
- Production — requires submitting your app for Google verification.
Step 2: Create OAuth credentials
- Go to Google Cloud Console Credentials.
- Click Create Credentials > OAuth client ID.
- Select Web application as the application type.
- Under Authorized redirect URIs, add the redirect URI shown on the RepairPlugin settings page.
- Save the credentials and copy the Client ID and Client Secret.
Step 3: Enable the Google Calendar API
- Go to the Google Calendar API page.
- Click Enable for your project.
Step 4: Enter credentials in RepairPlugin
- Go to RepairPlugin > Settings > Webhooks & Integrations > Google Calendar.
- Enter the Client ID.
- Enter the Client Secret.
- Click Save Settings.
Step 5: Authorize the connection
- Click the Click Here To Authorize button.
- Sign in with your Google account and grant the requested permissions.
- You'll be redirected back to RepairPlugin. The Is Authorized indicator shows Yes with a green checkmark.
- The Connected Account field shows the authorized email address.
Step 6: Select a calendar and turn on syncing
- From the Which calendar to use while creating events? dropdown, select the Google Calendar you want.
- Turn the Enable Syncing Events in Google Calendar switch to on.
- Click Save Settings.
Disconnect the account
- Click the X icon next to the Connected Account email.
- This clears the stored connection. You can re-authorize at any time.
Settings reference
| Setting | Description | Default | Customers see |
|---|---|---|---|
| Client Id | Stores the OAuth Client ID from your Google Cloud project. Required to start the authentication process | empty | Nothing — this is an admin-only setting. |
| Client Secret | Stores the OAuth Client Secret. Works together with the Client ID for authentication | empty | Nothing — this is an admin-only setting. |
| Authorized Redirect URI | Shows the redirect URI you need to add to your Google Cloud OAuth credentials. Copy this value into the Google Cloud Console | auto-generated based on your site URL | Nothing — this is an admin-only setting. |
| Is Authorized | Shows whether RepairPlugin has a valid connection to Google. Displays "Yes" with a green checkmark when connected, or "No" with a red X when not connected | no | Nothing — this is an admin-only setting. |
| Connected Account | Shows the email address of the connected Google account. Click the X icon to disconnect | N/A | Nothing — this is an admin-only setting. |
| Which calendar to use while creating events? | Lists all calendars in the connected Google account. Select which calendar should receive RepairPlugin appointment events. If no calendar is selected, the dropdown border turns red as a warning Tip: Create a dedicated "Repairs" calendar in Google Calendar before connecting. This keeps repair appointments separate from personal events and makes it easy to share with your team. | -- Select Calendar -- | Nothing — this is an admin-only setting. |
| Enable Syncing Events in Google Calendar | When turned on, RepairPlugin automatically creates a Google Calendar event each time a new appointment is booked. When off, the connection stays active but no events are created | off | Nothing — this runs in the background. |
Frequently asked questions
What happens to existing appointments when I turn on syncing?
Only new appointments booked after you enable syncing appear in Google Calendar. Existing appointments aren't synced retroactively.
Can I use a shared Google Calendar?
Yes. As long as the Google account you connect has access to the calendar, you can select it from the dropdown. Shared calendars are a great way to keep your whole team informed.