Managing Categories
Organize your device catalog with categories and brands in RepairPlugin — the foundation customers see when they start a booking.
What can you do with this?
- Organize your catalog — set up a clear two-level structure with device types at the top and brands underneath, so customers can quickly find their device.
- Control what's visible — turn entire categories or brands on and off with a single switch, instantly hiding or showing all related models.
- Customize the order — drag and drop categories and brands to match the order that makes sense for your shop.
- Add branded visuals — upload images for each category and brand so the booking form looks professional.
- Generate shortcodes — copy a shortcode for any category or brand and place it on any WordPress page.
Where to find it
- In the WordPress admin sidebar, click RepairPlugin.
- Click Categories in the submenu.
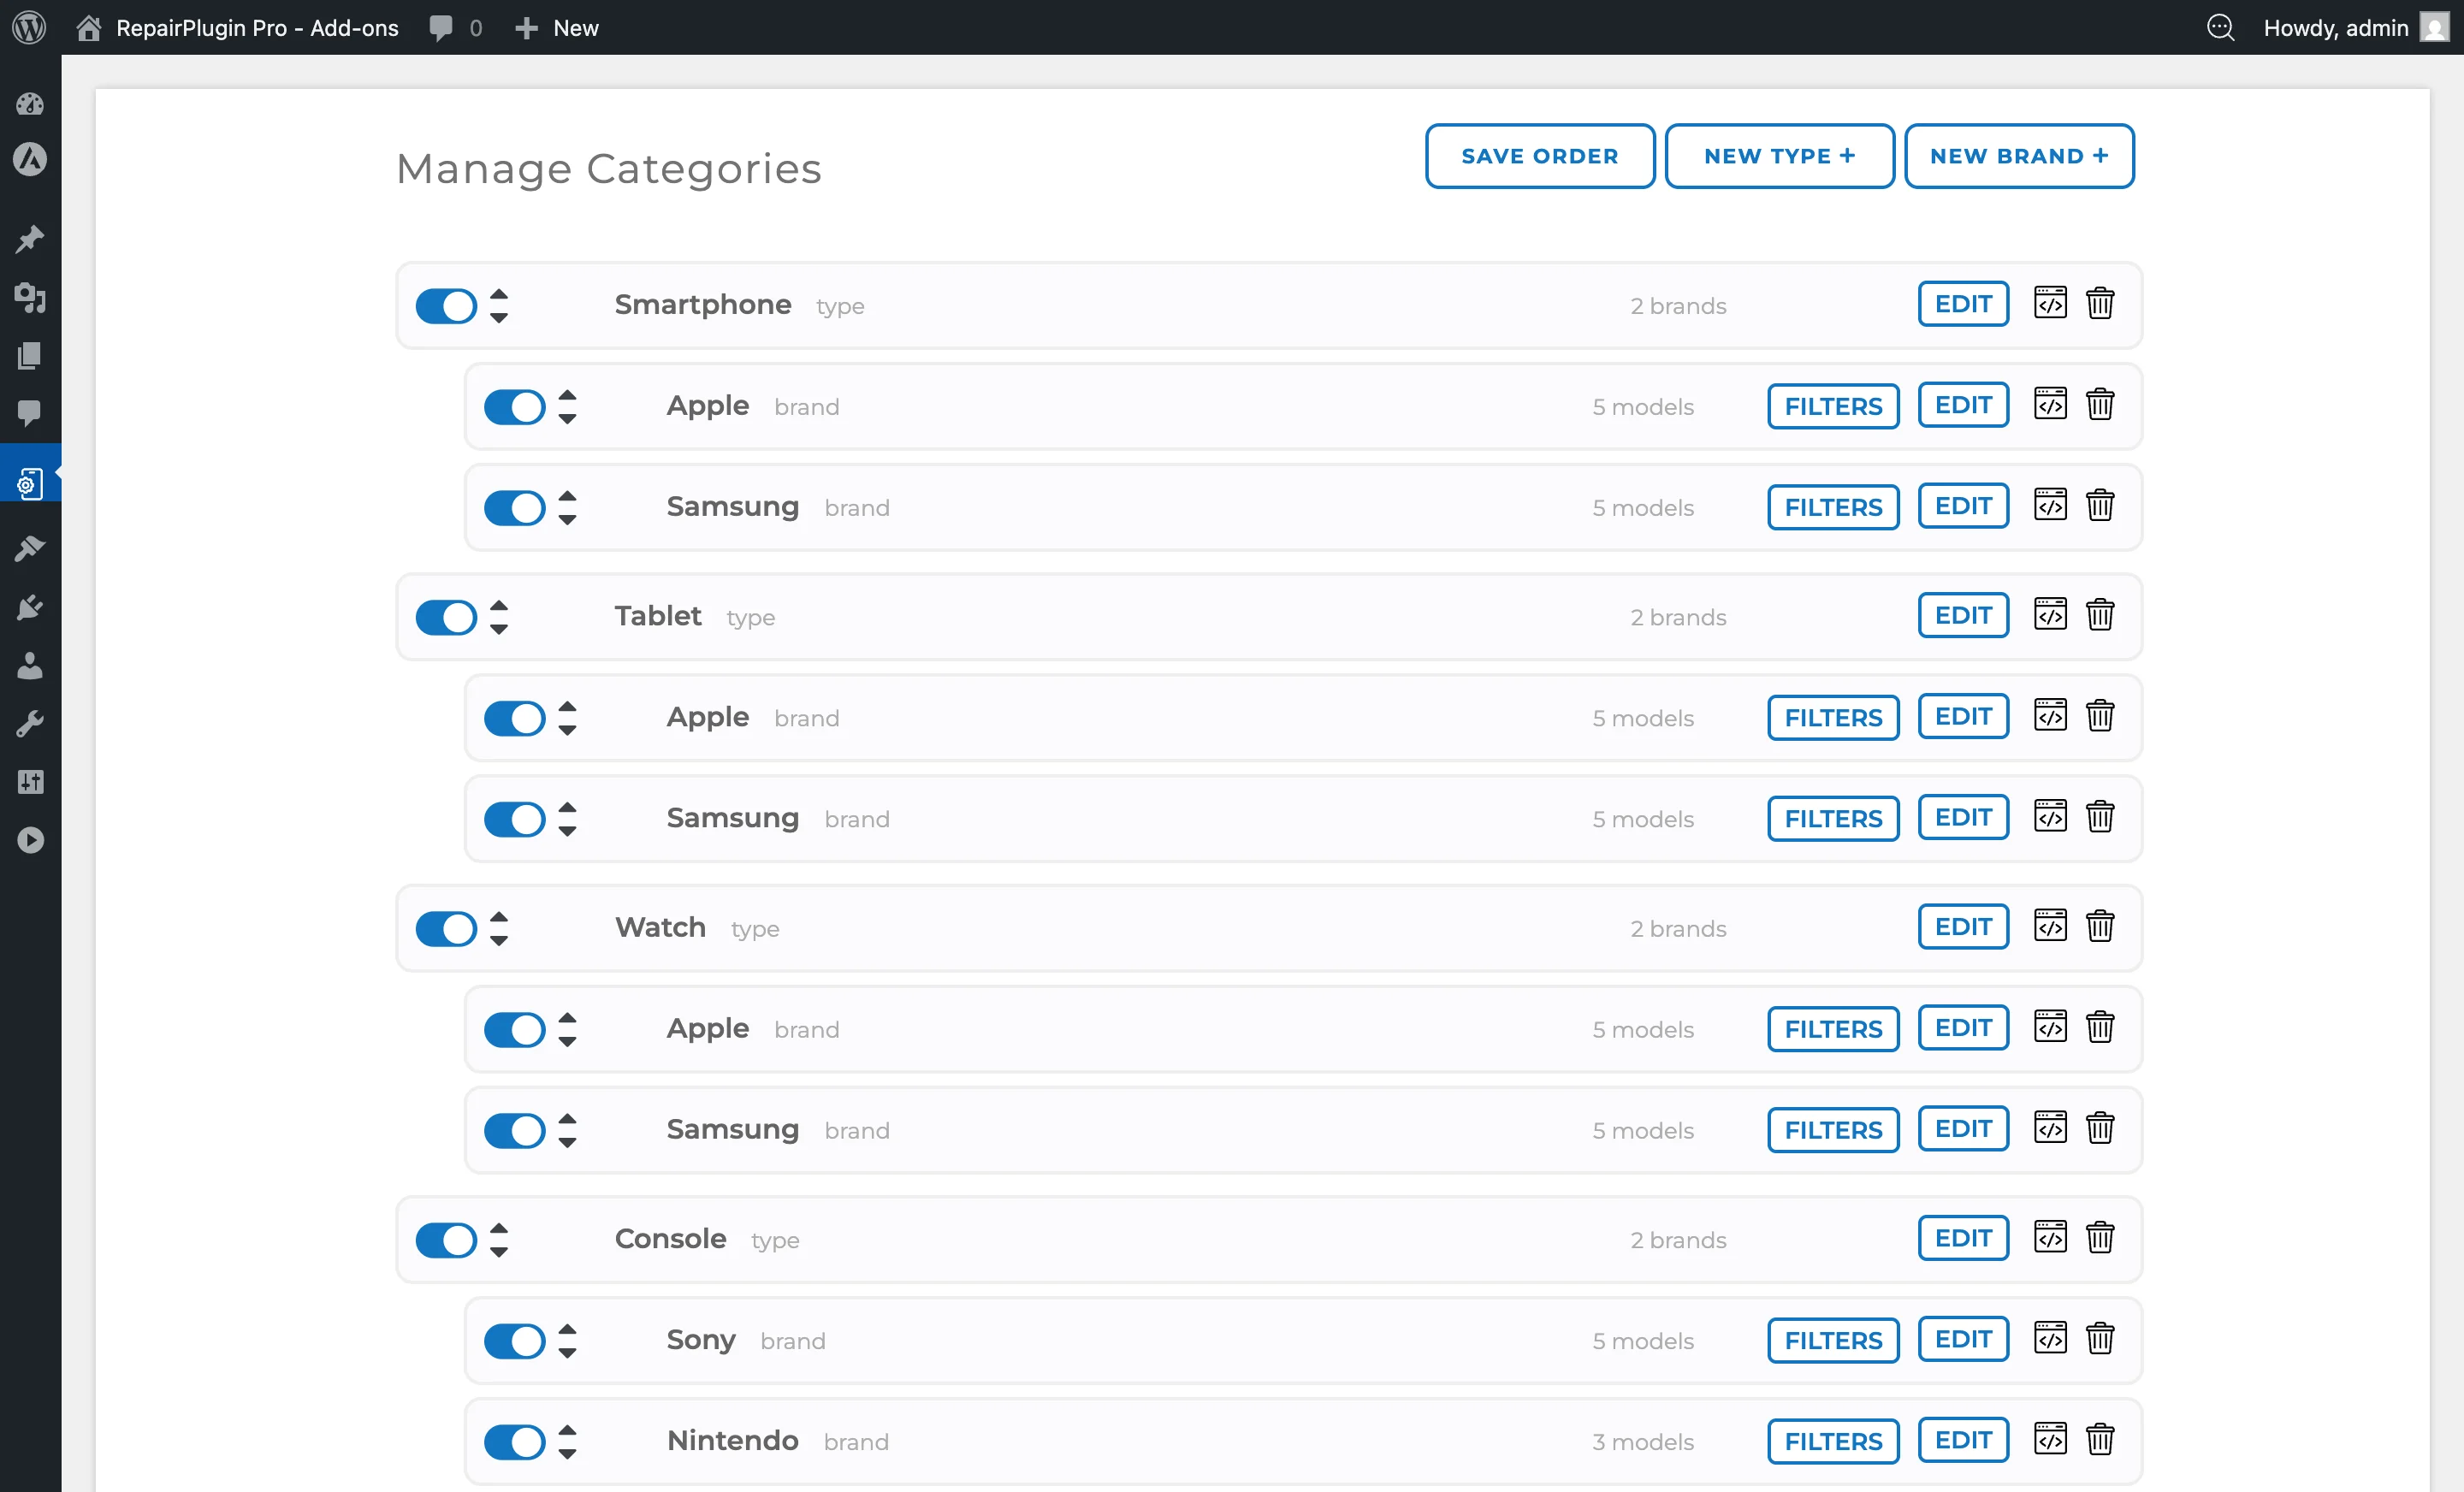
- The "Manage Categories" page opens, showing all existing categories with their nested brands.
How to set it up
Add a new category (device type)
- On the Categories page, click the New Type button (top-right).
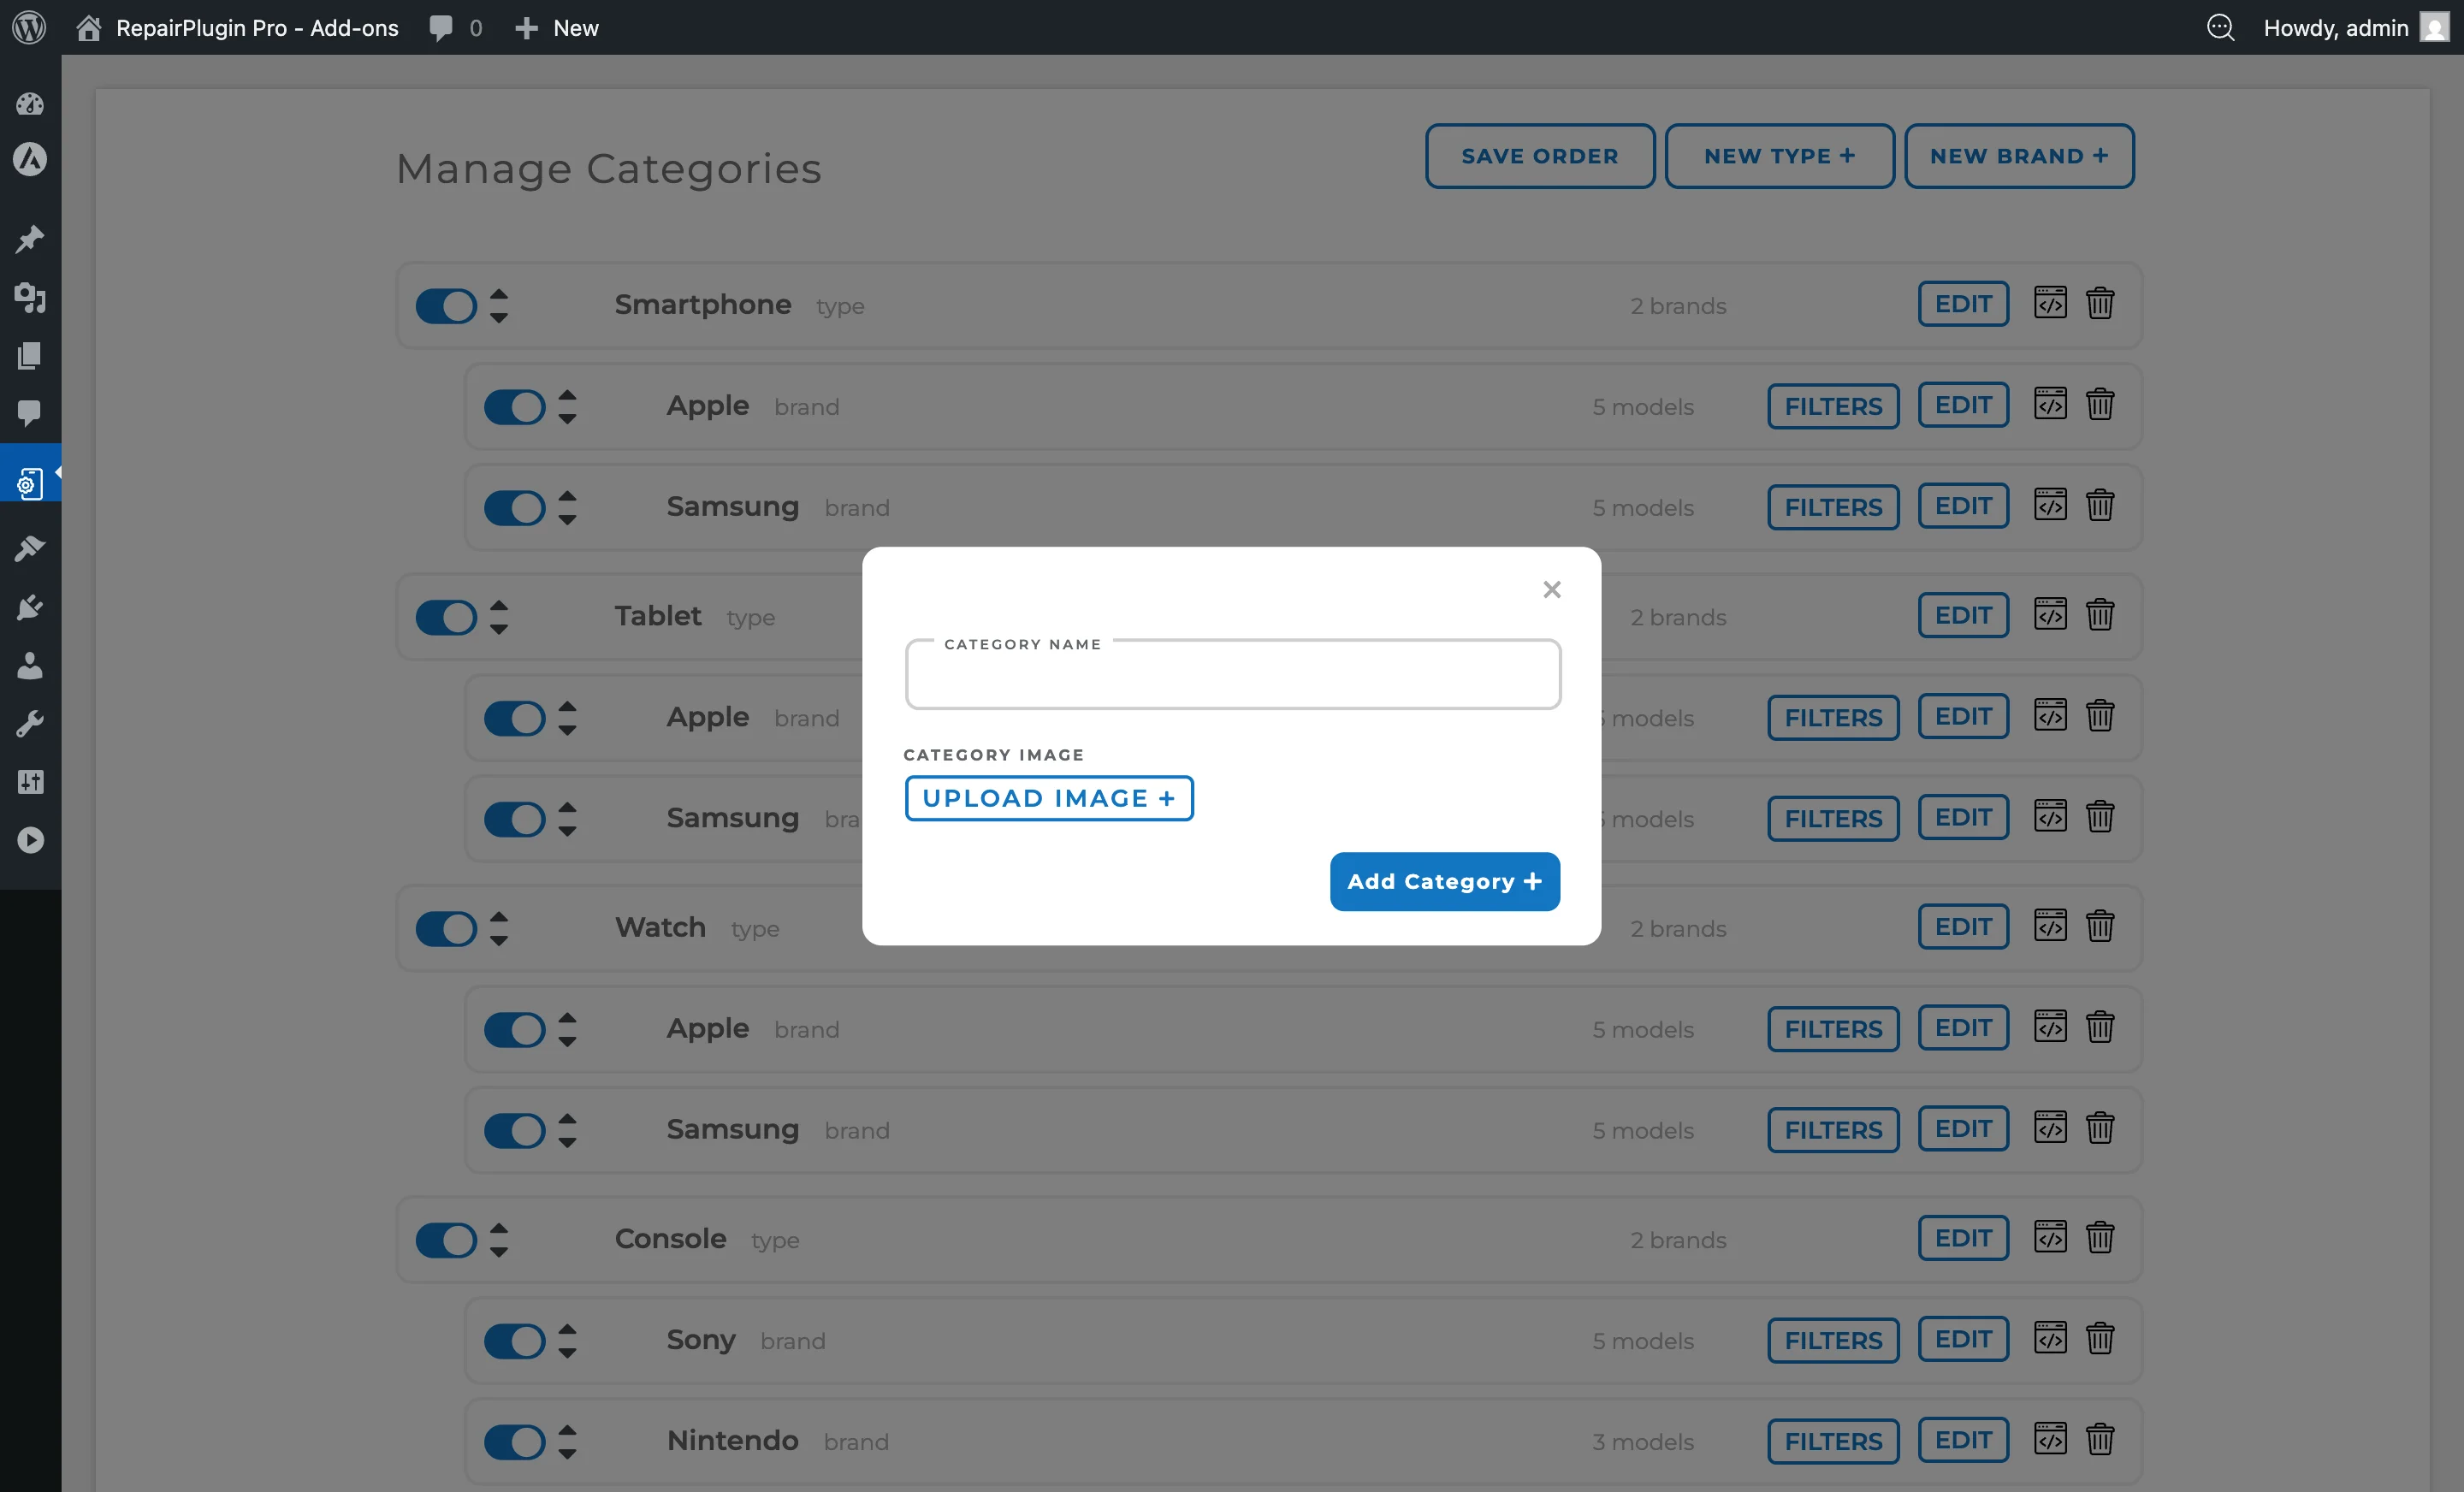
- A dialog opens with the following fields:
- Category Name — enter the device type name (e.g., "Smartphone", "Tablet", "Game Console").
- Category Image — click Upload Image to select an image file (recommended max 150px).
- Click Add Category to save.
Edit a category
- Find the category in the list.
- Click the Edit button on the category row.
- The row expands to show:
- The current category image with an option to upload a new one or clear the existing image.
- The category name (editable inline in the row header).
- Make your changes and click Save All Settings.
Enable or disable a category
- Use the switch on the left side of the category row to turn it on or off.
- Click the Save Order button at the top of the page to save.
- Disabled categories (and all their brands and models) won't appear on your website.
Reorder categories
- Use the sort arrows (up/down) on the left side of each category row to change the order.
- Alternatively, drag and drop categories into the desired order.
- Click the Save Order button to save.
Delete a category
- Click the trash icon on the category row.
- Confirm the deletion when prompted.
- Warning: Deleting a category removes all associated brands, models, repairs, and related data. This action can't be undone.
Add a new brand
- Click the New Brand button (top-right).
- A dialog opens:
- Choose Category — select the parent category (device type) from the dropdown.
- Brand Name — enter the brand name (e.g., "Apple", "Samsung").
- Brand Image — click Upload Image to upload a brand logo (recommended max 150px).
- Click Add Brand to save.
Edit a brand
- Find the brand under its parent category.
- Click the Edit button on the brand row.
- The row expands to show the brand image and upload controls.
- Edit the brand name inline in the row header.
- Click Save All Settings.
Enable or disable a brand
- Use the switch on the brand row to turn it on or off.
- Click Save Order to save.
- Disabled brands (and all their models) won't appear on your website.
Reorder brands
- Use the sort arrows on the brand row, or drag and drop.
- Click Save Order to save.
Delete a brand
- Click the trash icon on the brand row.
- Confirm the deletion when prompted.
- Warning: Deleting a brand removes all associated models, repairs, and related data. This action can't be undone.
Copy a shortcode
Each category and brand has a shortcode button (code icon) that copies a shortcode to your clipboard:
- Category shortcode:
[categories code=category_XXXXX] - Brand shortcode:
[brands code=brand_XXXXX]
Place these shortcodes on any WordPress page to display a specific category or brand selection widget.

Settings reference
| Setting | Description | Default | Customers see |
|---|---|---|---|
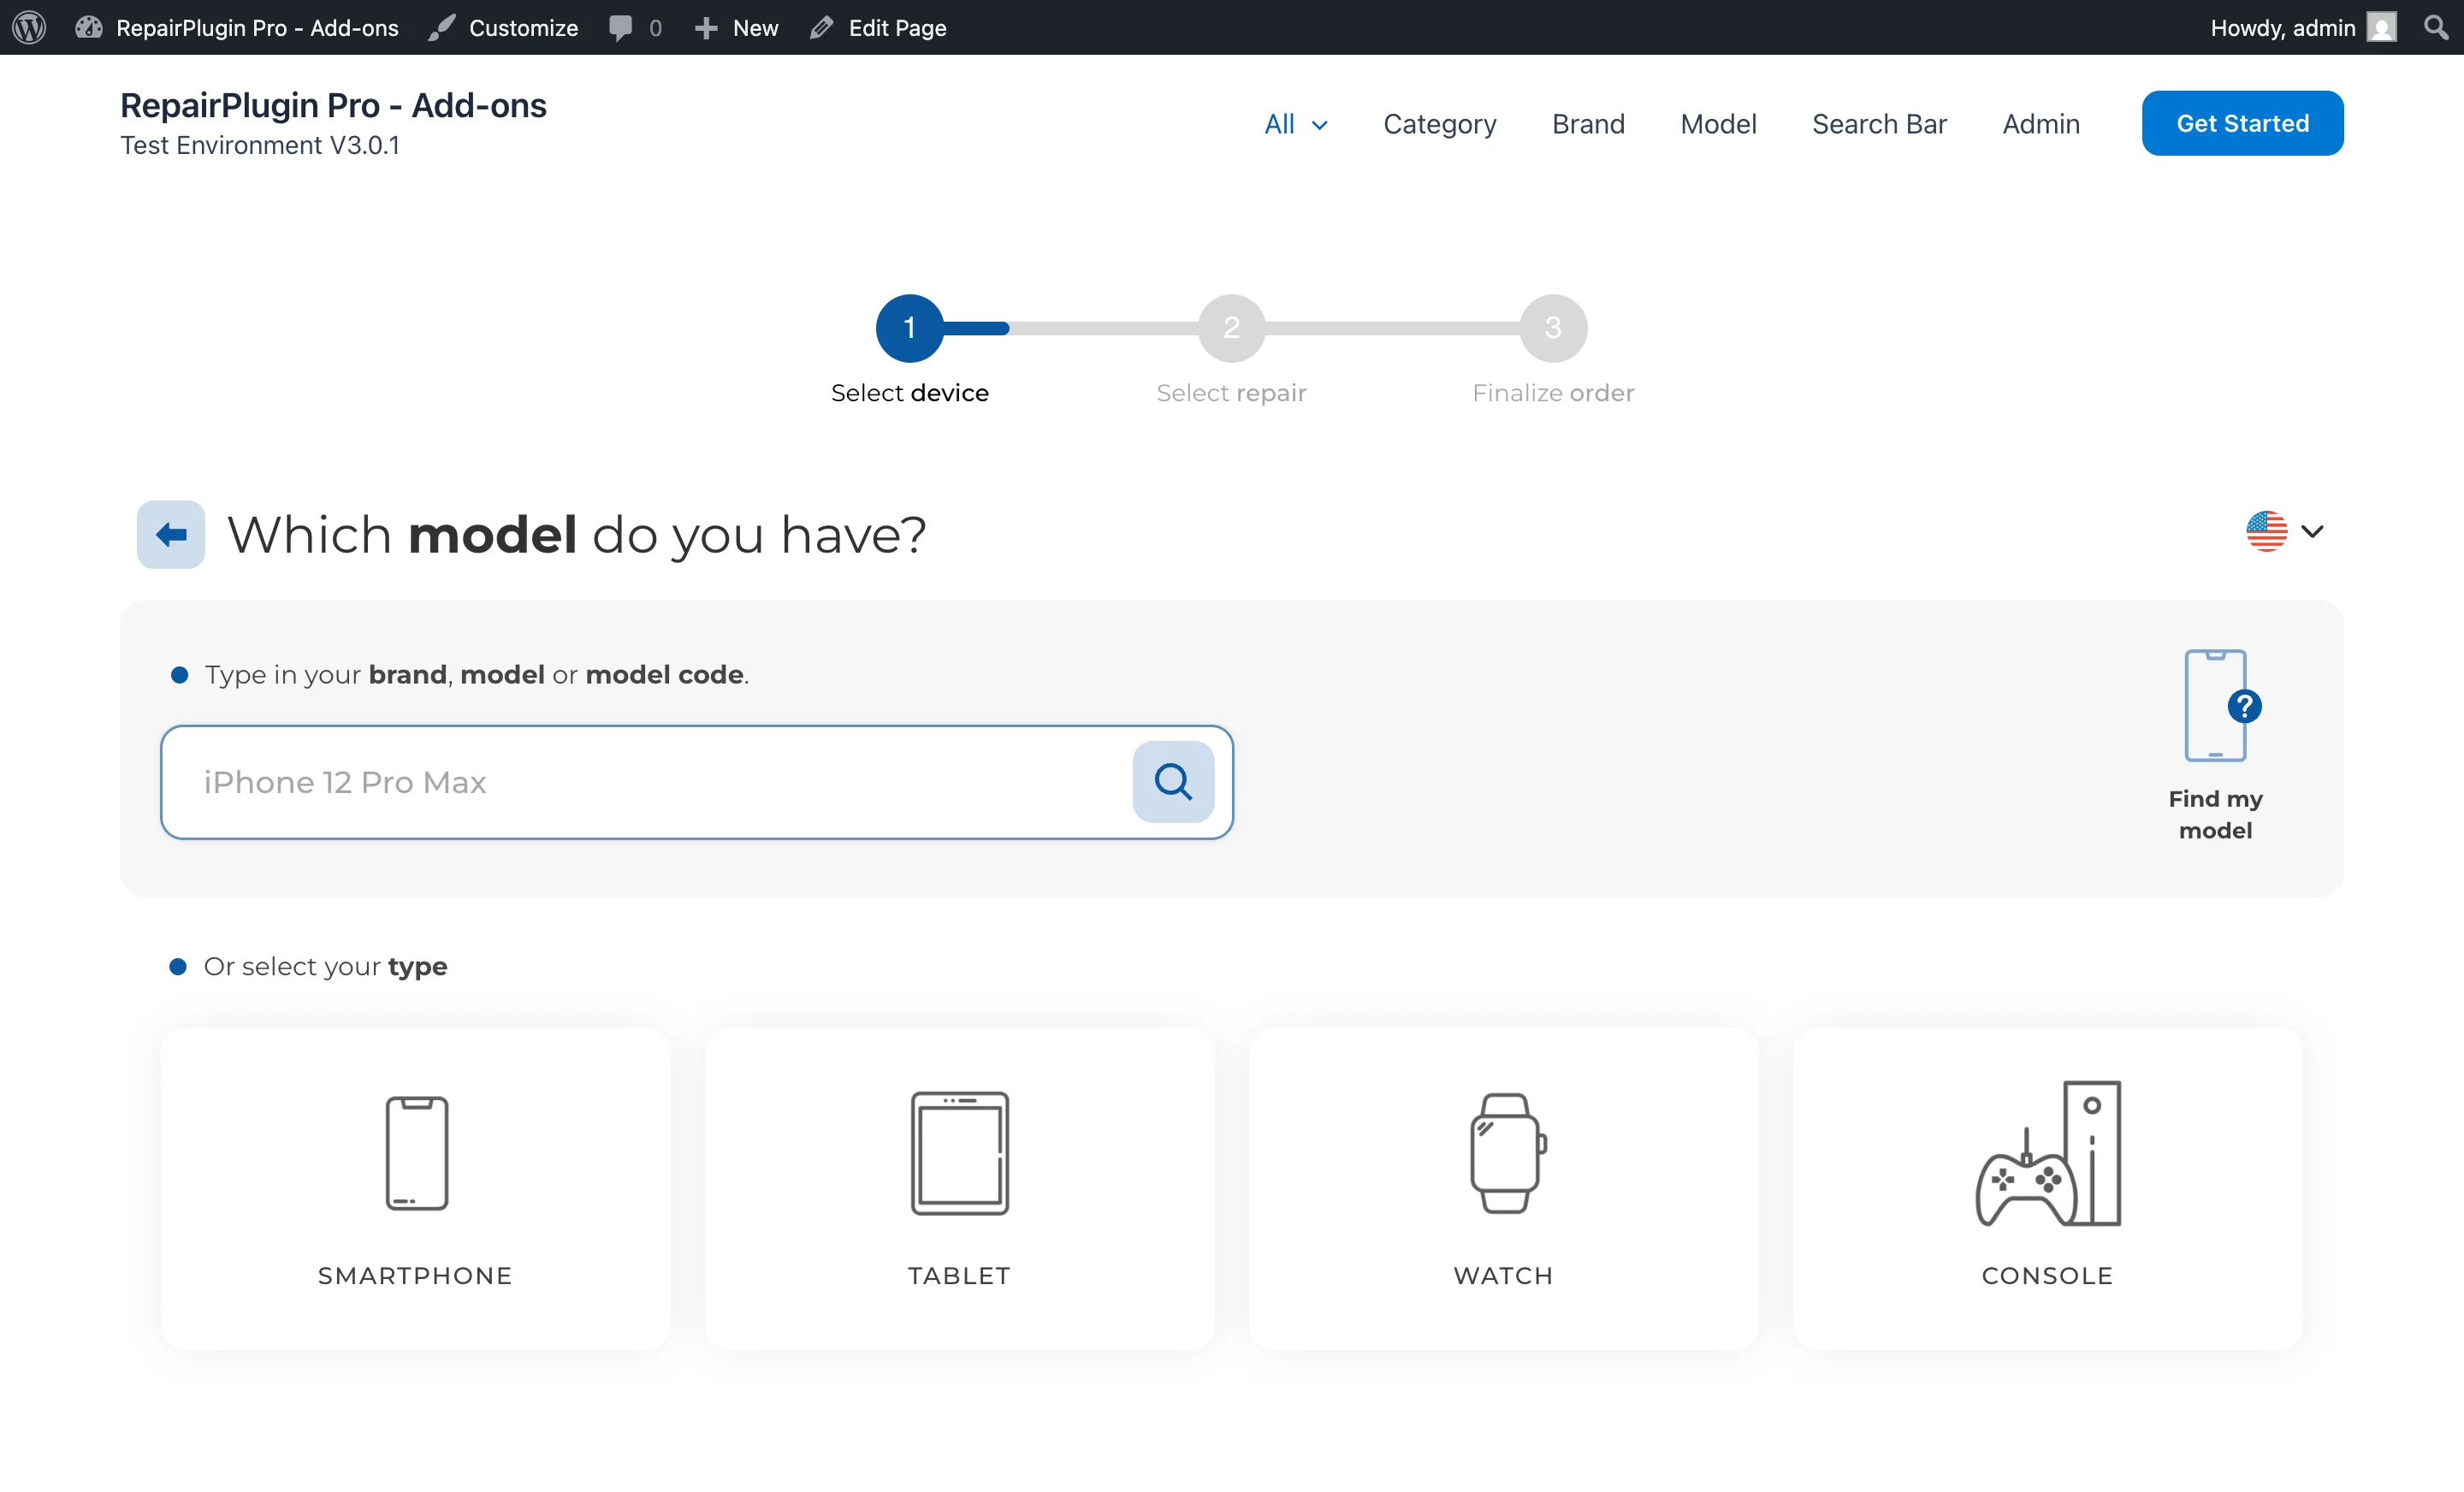
| Category Name | Sets the display name for the device type | empty | The category name appears as the label on the category selection step of the booking form. |
| Category Image | Associates an image or icon with the category | none | The image appears alongside the category name on the booking form. Recommended maximum size is 150px. |
| Category Active | Controls whether the category is visible on your website | on | When turned off, the category, all its brands, and all its models are hidden from the booking form. |
| Brand Name | Sets the display name for the brand under a category | empty | The brand name appears as the label on the brand selection step, after the customer picks a category. |
| Brand Image | Associates an image or logo with the brand | none | The image appears alongside the brand name on the booking form. Recommended maximum size is 150px. |
| Brand Active | Controls whether the brand is visible on your website | on | When turned off, the brand and all its models are hidden from the booking form. |
| Category / Brand Position | Controls the display order of categories and brands in the admin panel and on your website | order of creation | Categories and brands appear in the order you've configured. |
Frequently asked questions
Do I need to create categories and brands before I can add models?
Yes. Every model belongs to a brand, and every brand belongs to a category. Create categories first, then brands, then models. If you use the Download Libraries feature to import models, categories and brands are created automatically.
What happens when I disable a category?
All brands and models under that category are hidden from your website too. The data isn't deleted — turn the category back on and everything reappears.
What happens if I delete a brand that has models?
Deleting a brand permanently removes all of its models, repairs, repair attributes, and location-specific prices. This action can't be undone. A confirmation popup appears before deleting. Consider disabling the brand instead if you want to keep the data.
Can I reorder categories, brands, and models?
Yes. You can drag and drop categories, brands, and models to change their display order. The front-end booking form respects this order.